Slow Stitch Circle
Community Studio Sessions: Slow Stitch Circle
About Community Studio Sessions
Making is often easier in community.
At Breuwen, we believe traditional craft knowledge becomes most meaningful when it is shared, practiced, and passed between people.
Community Studio Sessions are an invitation to gather at the studio and participate in the living traditions of making. These affordable, recurring studio gatherings offer dedicated time to explore techniques such as natural dyeing, shibori, sashiko, mending, weaving, and other textile arts while working alongside a community of fellow makers.
Unlike a formal workshop, these sessions are designed as ongoing creative practice. Bring your own materials, work at your own pace, learn through observation and conversation, and become part of a growing circle of people interested in slowing down, creating by hand, and deepening their relationship with craft.
Whether you join once or return month after month, our goal is simple: to create a welcoming space where skills are shared, creativity is nurtured, and community is built through making.
Come make, learn, experiment, and be part of a growing community of slow makers.
Kicking off my first Slow Stitch Circle with a series of smaller projects.
I’m preparing for an upcoming Indigo Dip Day workshop hosted by SCTA. I will be teaching Mokume Shibori, and have developed a nice collection of technique samples to share with my students. The last few days have been focused around stitching various patterns, and I feel very behind in other areas of my studio. Thankfully, I finished stitching my last sample at 5:30 AM, and I can refocus in one or many directions for a bit to unwind.
One project that I’ve been building towards (and very excited to make some progress) is making avocado printing paste for fabric screen printing. I’m learning this technique from the amazing Greta Desiree Facchinato, who is sharing her natural dye screen printing technique as part of the Plants & Colour year long ‘Printing & Painting on Textiles’ course. I’ve been gathering my ingredients for the avocado paste, and after making a large amount of guacamole last night- I’m ready to make the dye.
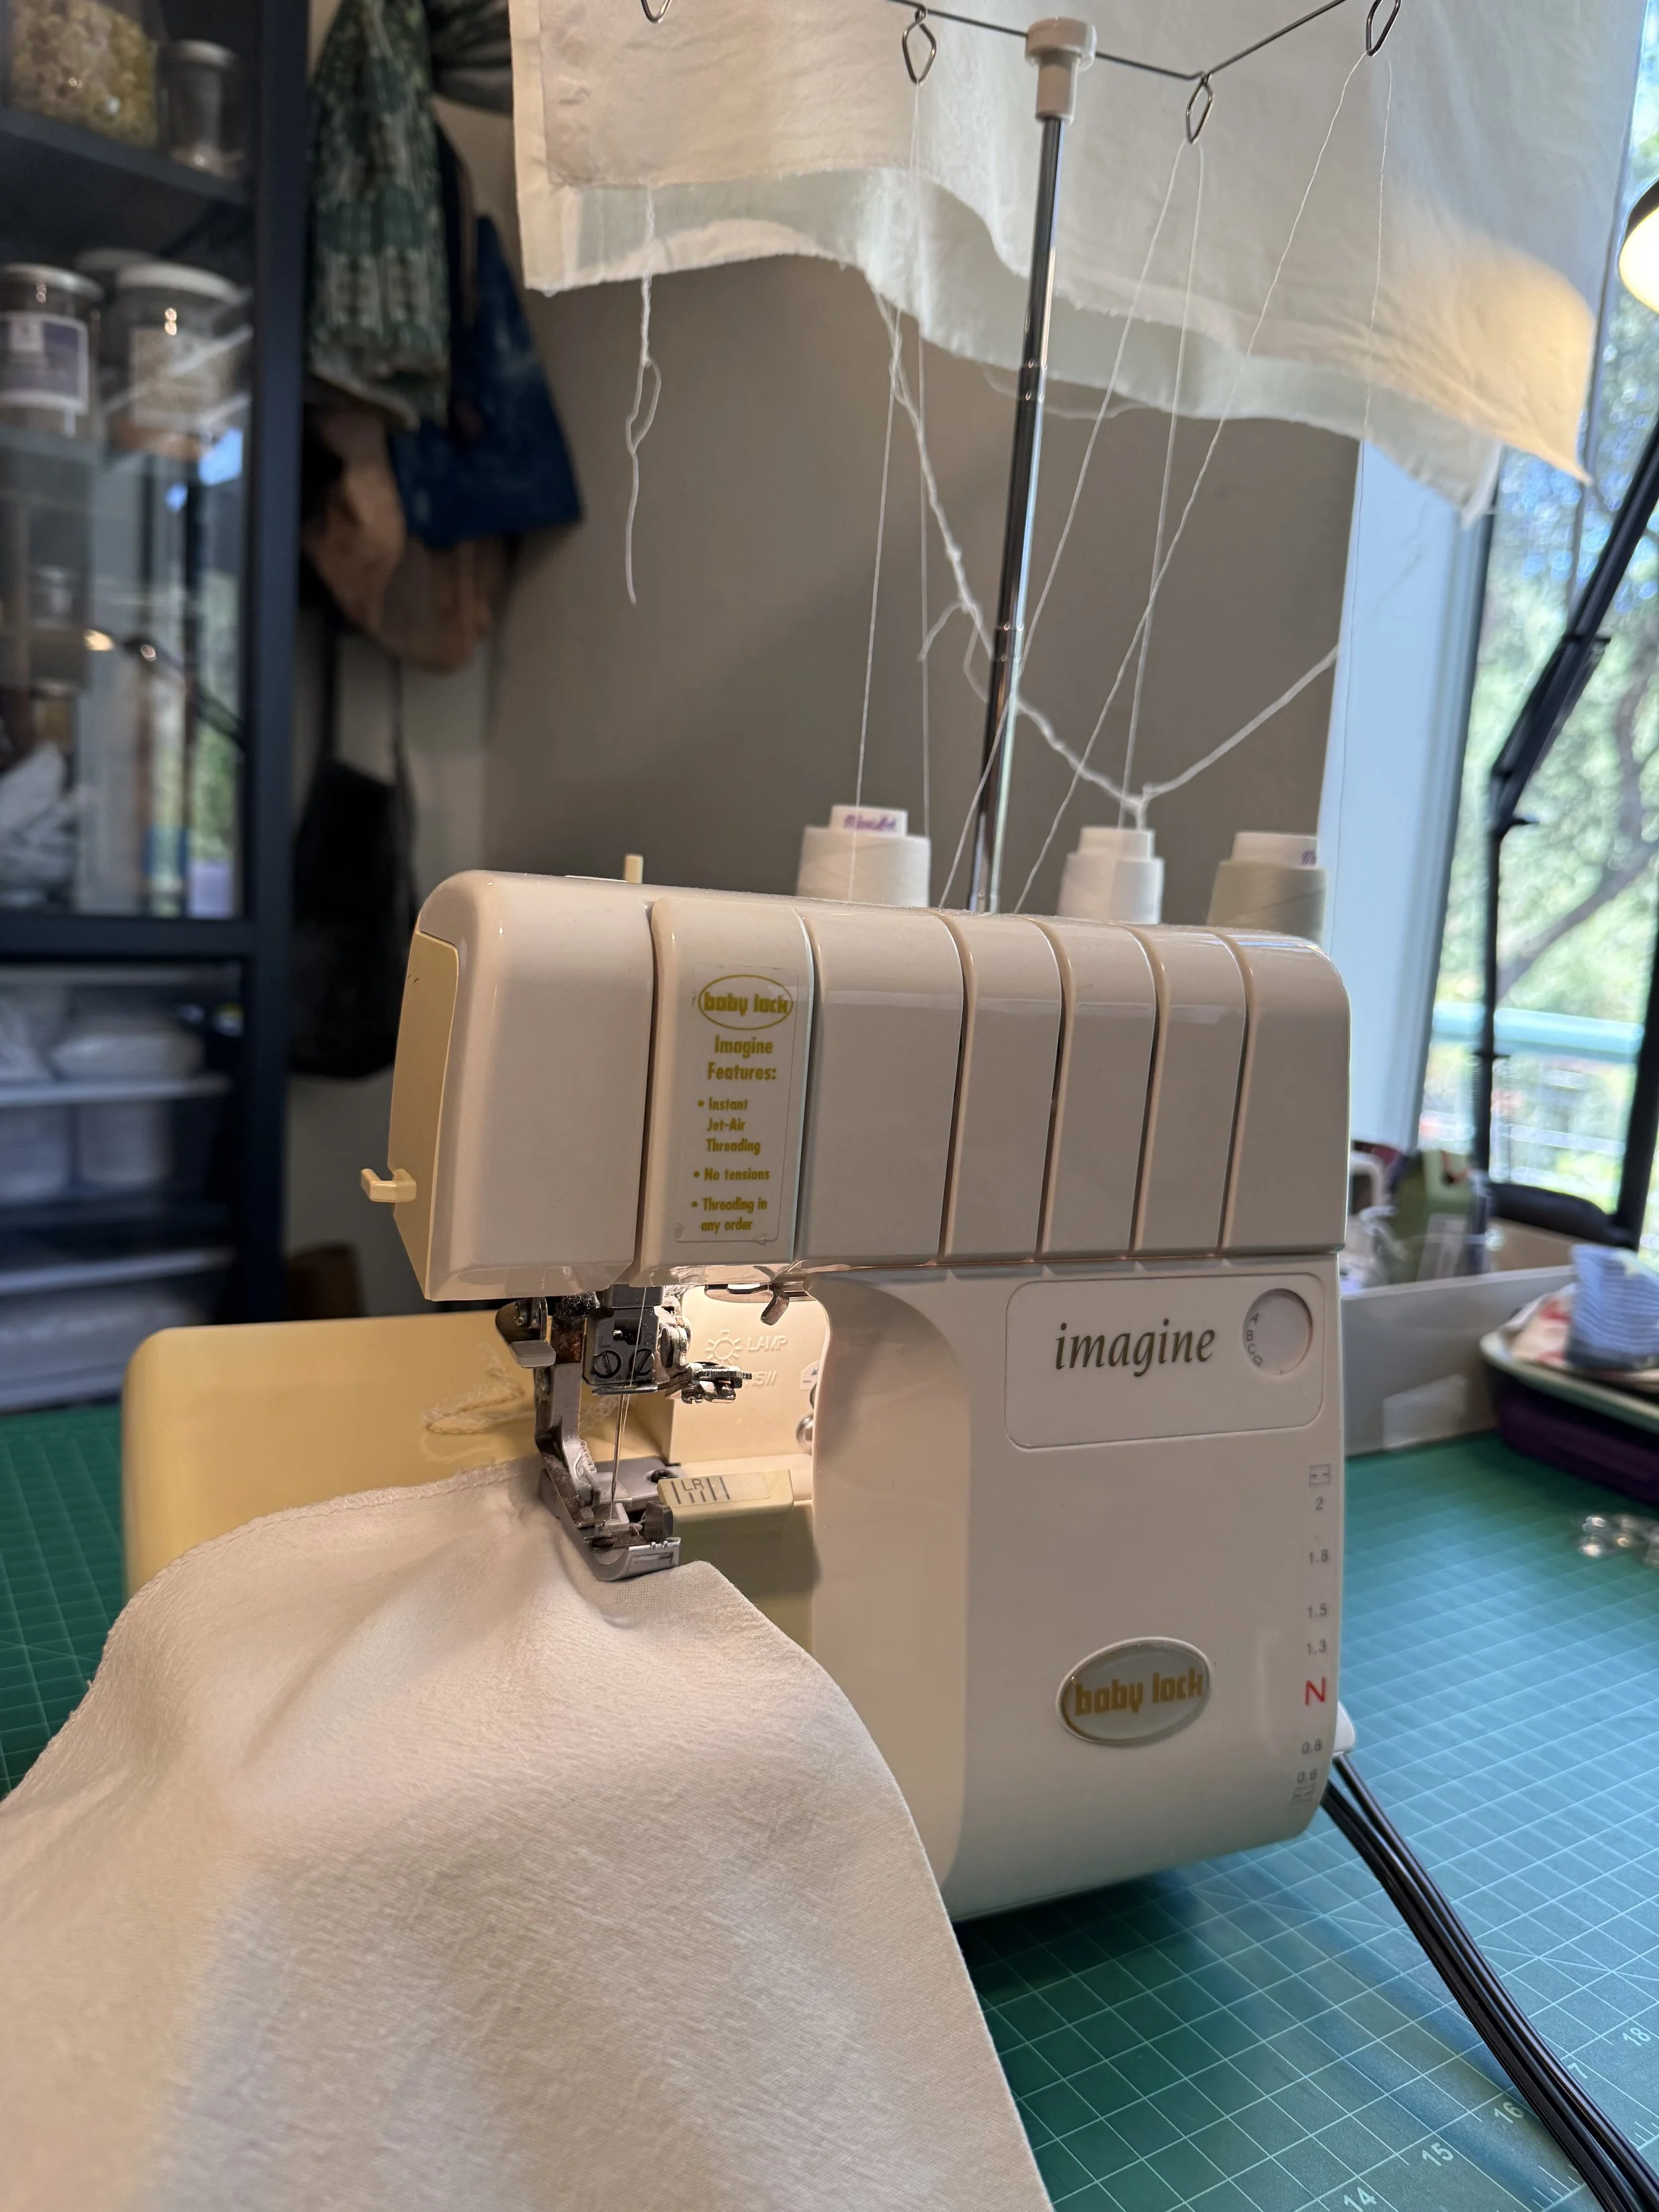
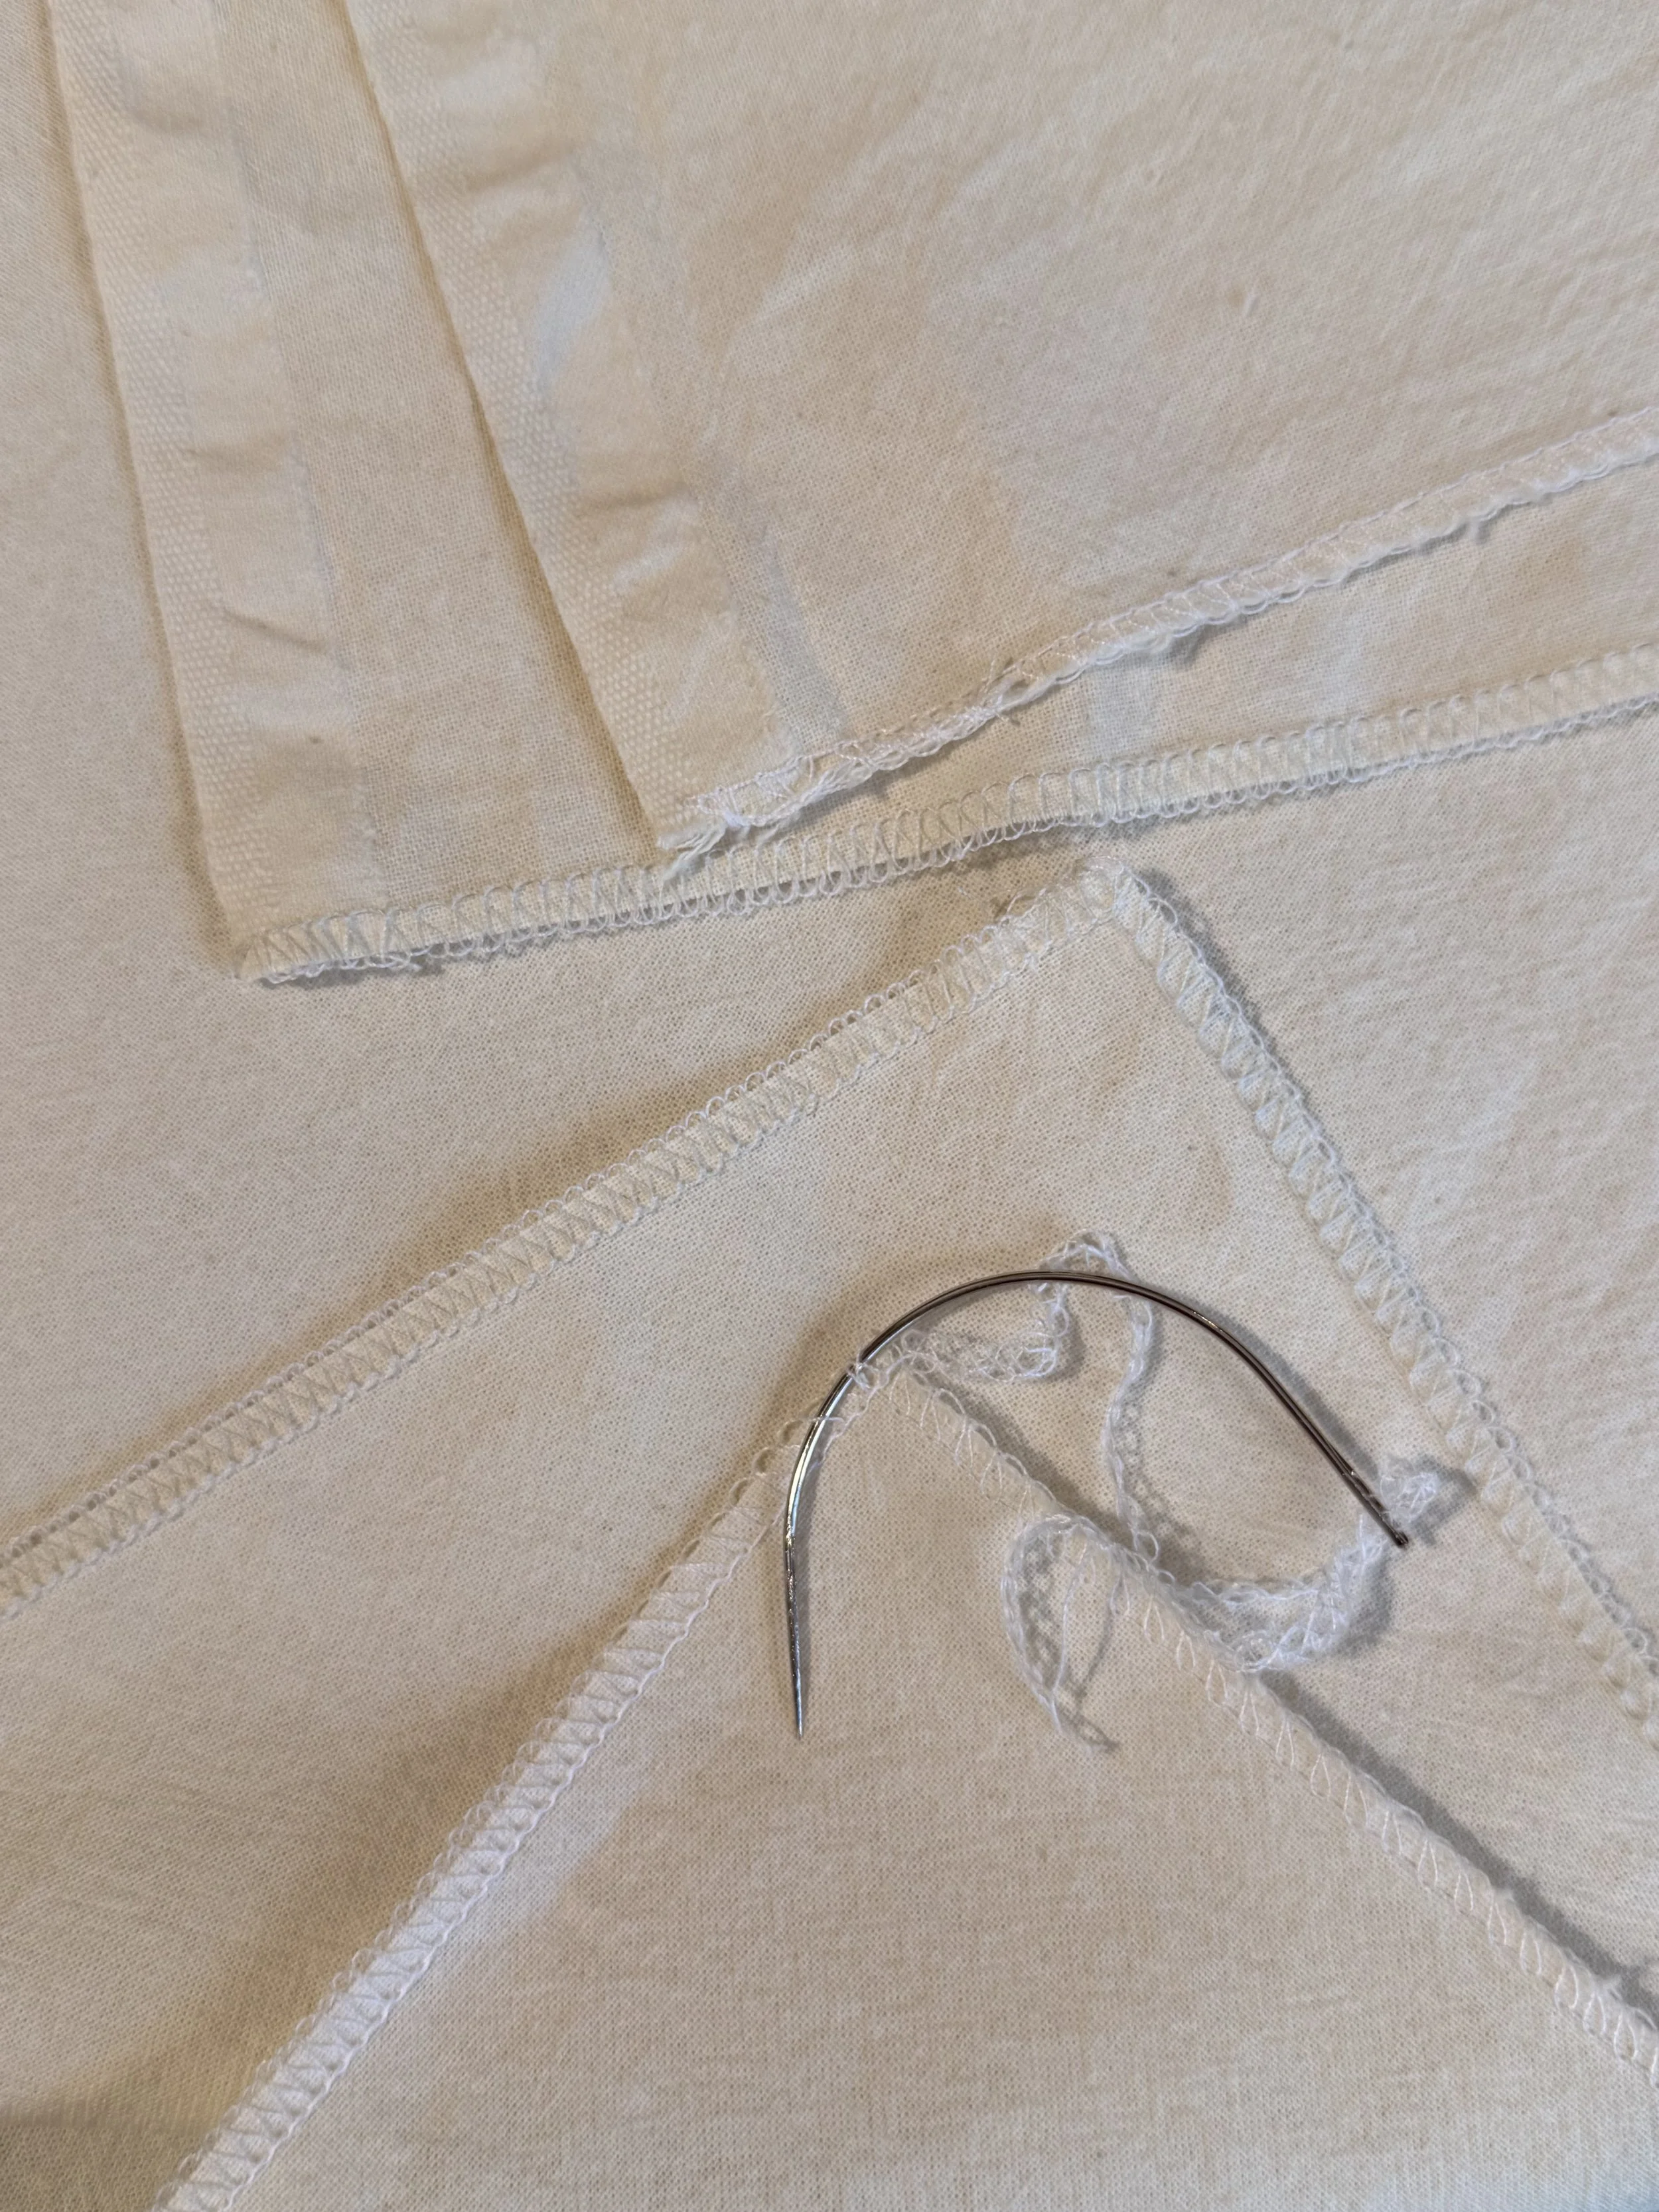
Part of natural dyeing is textile preparation. For this technique, Greta recommends that your textile be scoured and mordanted as needed based on fiber type. I’m working with a nice heavyweight organic cotton that I steeped in a Gallnut Tannin bath for 4 hours followed by an Alum bath for 6 hours. The fabric dried overnight, and my first project today is to cut down and serge the textile for printing.
Fabric blank preparation isn’t the most fun part of textile work, but it’s so very important. Without properly preparing the textile, you can get variegated and inconsistent color, fading, and weaker color. Taking the time to prepare before working with natural dyes is a way to honor and respect the materials you are working with by maximizing their potential.
I like to finish the edges of textiles before working with them so I can maintain the edges and keep a clear understanding of surface area. I spend a lot of time measuring, drawing lines, cutting fabric, and hand finishing thread ends.
I permanently borrowed my Baby Lock serger from hubby. He purchased it from a friend who inherited it from her mom, it was in beautiful shape. I use the Baby Lock all the time, more than my sewing machine even.
Today I used a white polyester thread to finish the edges. This thread is very strong, blends into the textile when it’s undyed, and rejects natural dyes so it maintains its color. I finish the edges of the textiles by working the thread tail back into the ends. I tie a few knots while I do this to secure the end. I used to use an adhesive to seal the edges, but the glue reacts to natural dyes so now I finish it by hand.
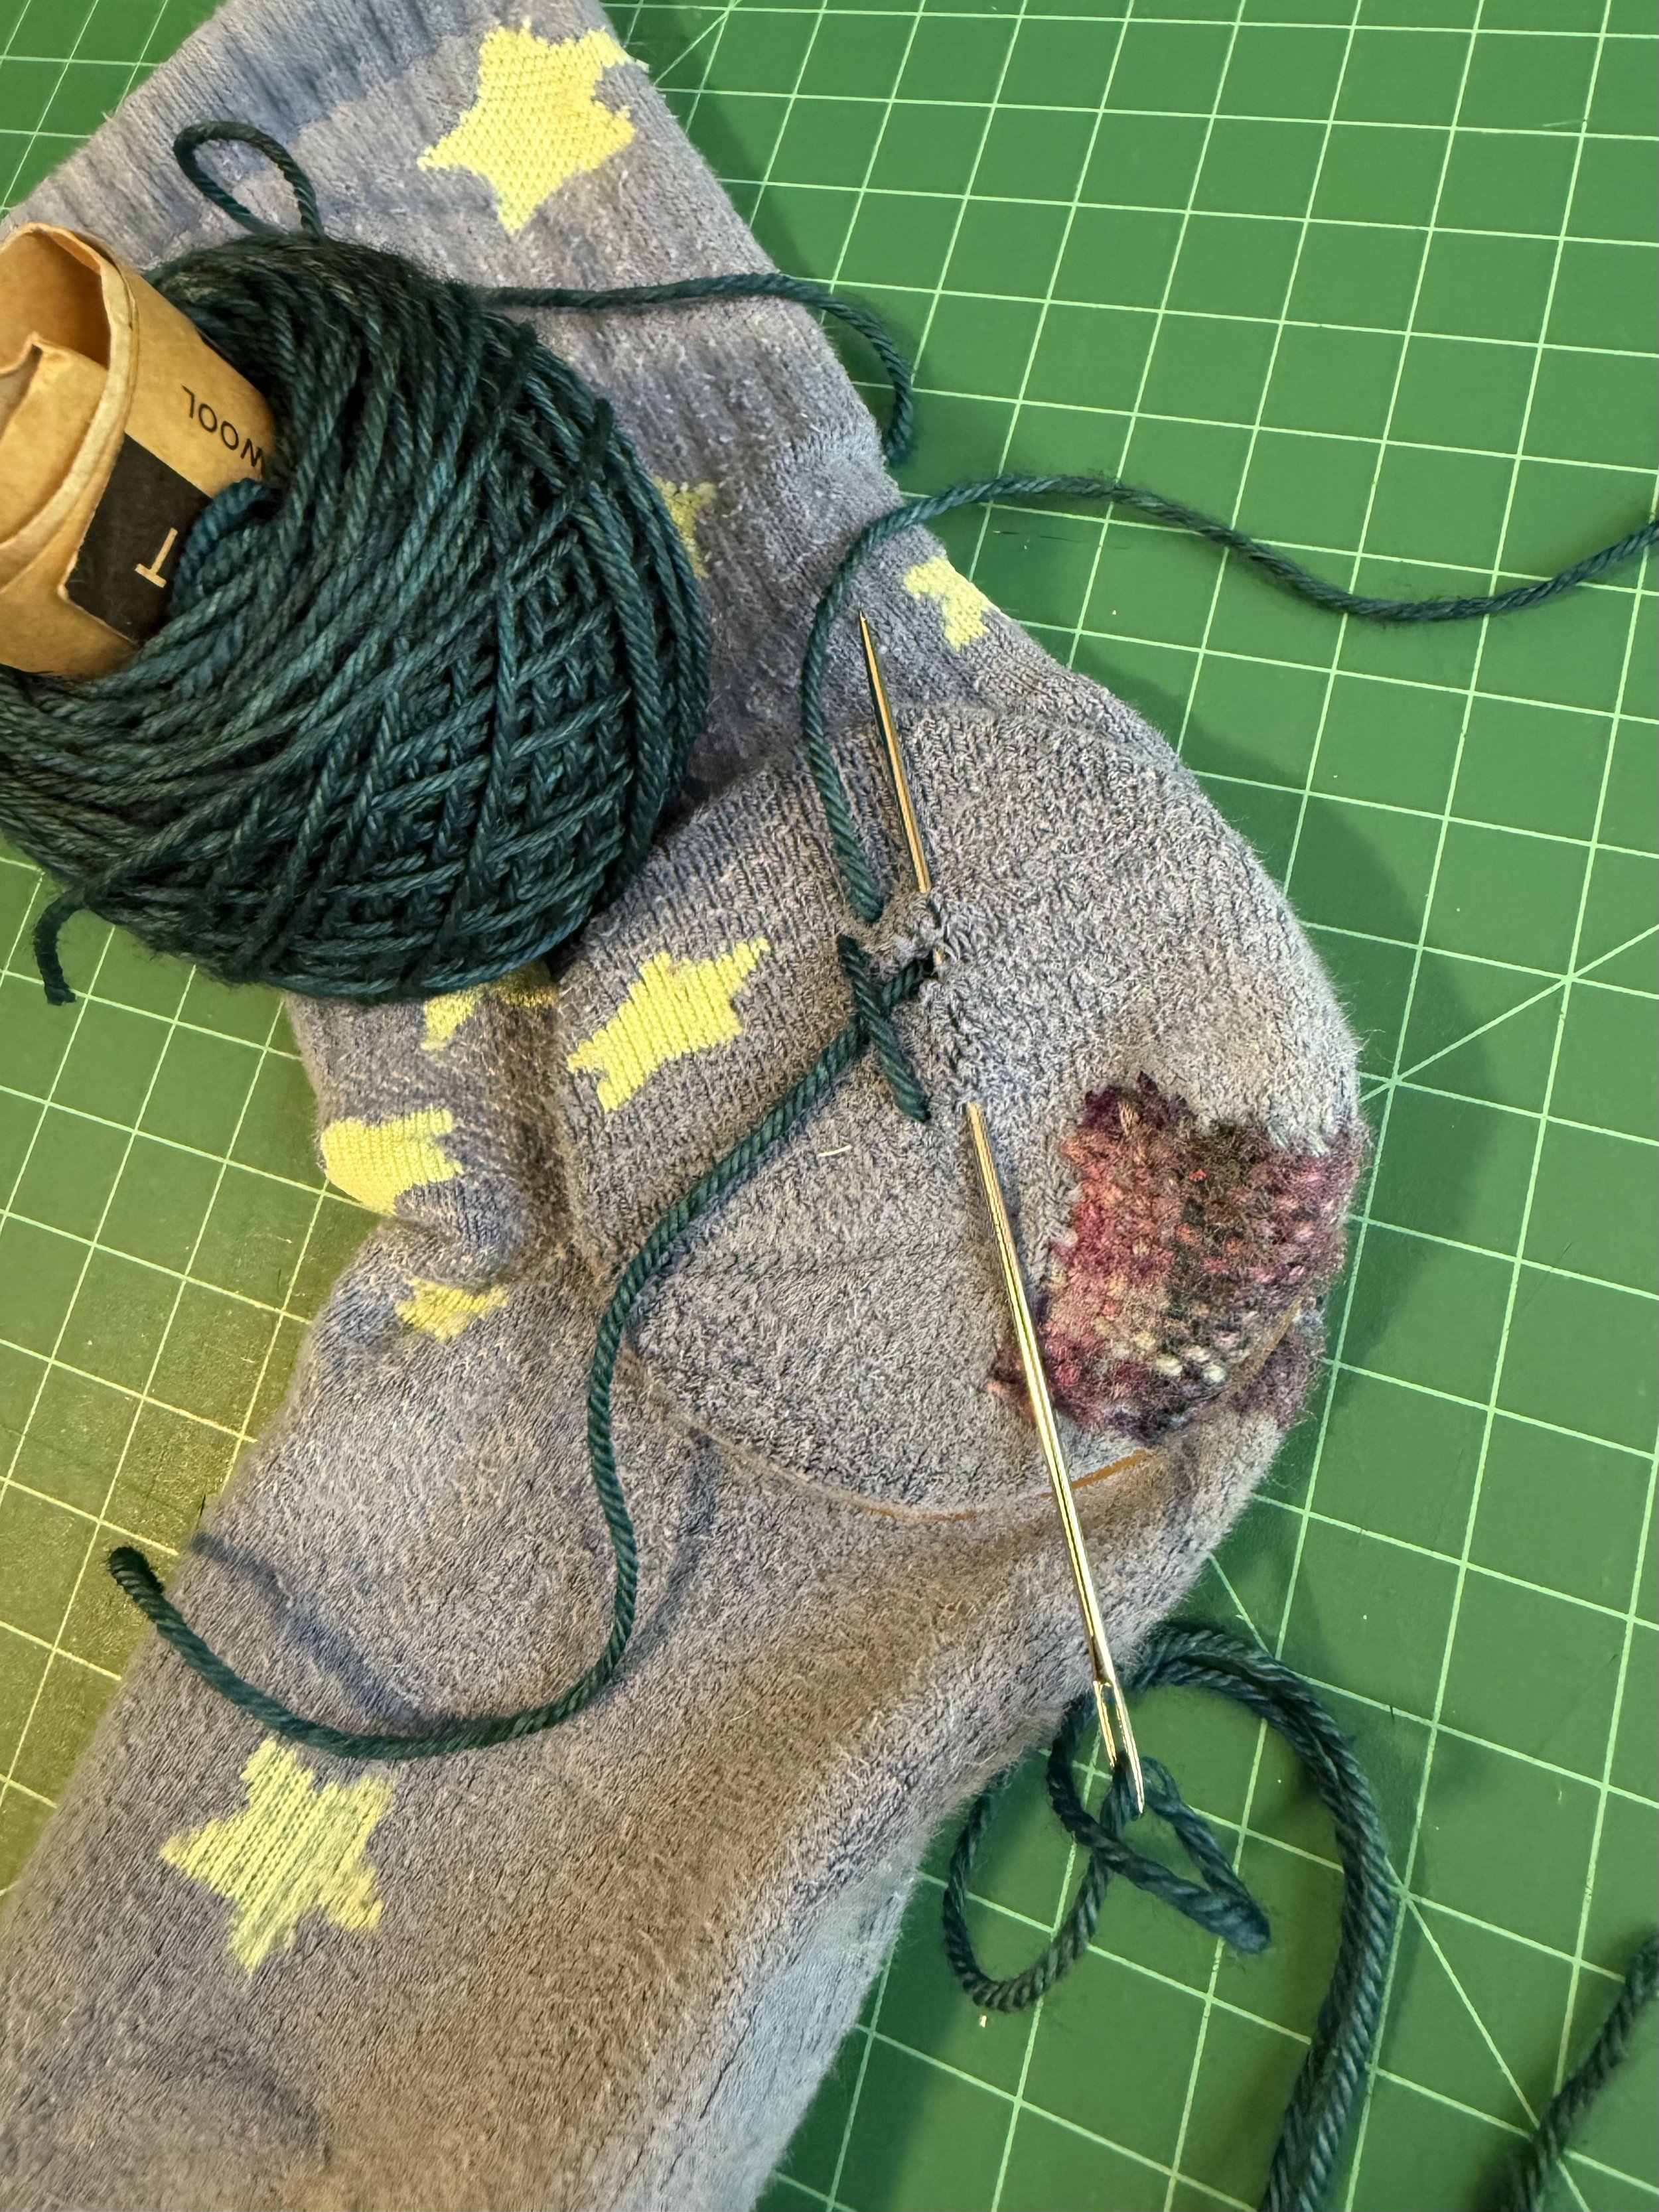
The 2nd project to tackle was a slight mend to a sock that has been heavily mended already. I’m making an effort to not discard items and patch then back to working order. This sock, which has glow in the dark stars, is a reminder to care for your things in life- especially when they are damaged and need a little love.
I have a small mending loom kit that has a wooden circle used on the inside of the sock to add structure. I used the wooden circle with a large darning needle and created a weave over the hole. I didn’t attach the full loom to the sock because the hole was small enough to patch without it. The larger older parch on the ball of the sock was made with the loom attachment. I spent a few weeks over the winter darning all of our socks while mumbling about sustainable practices and ‘Big Sock’ making weak weave structures to encourage waste.
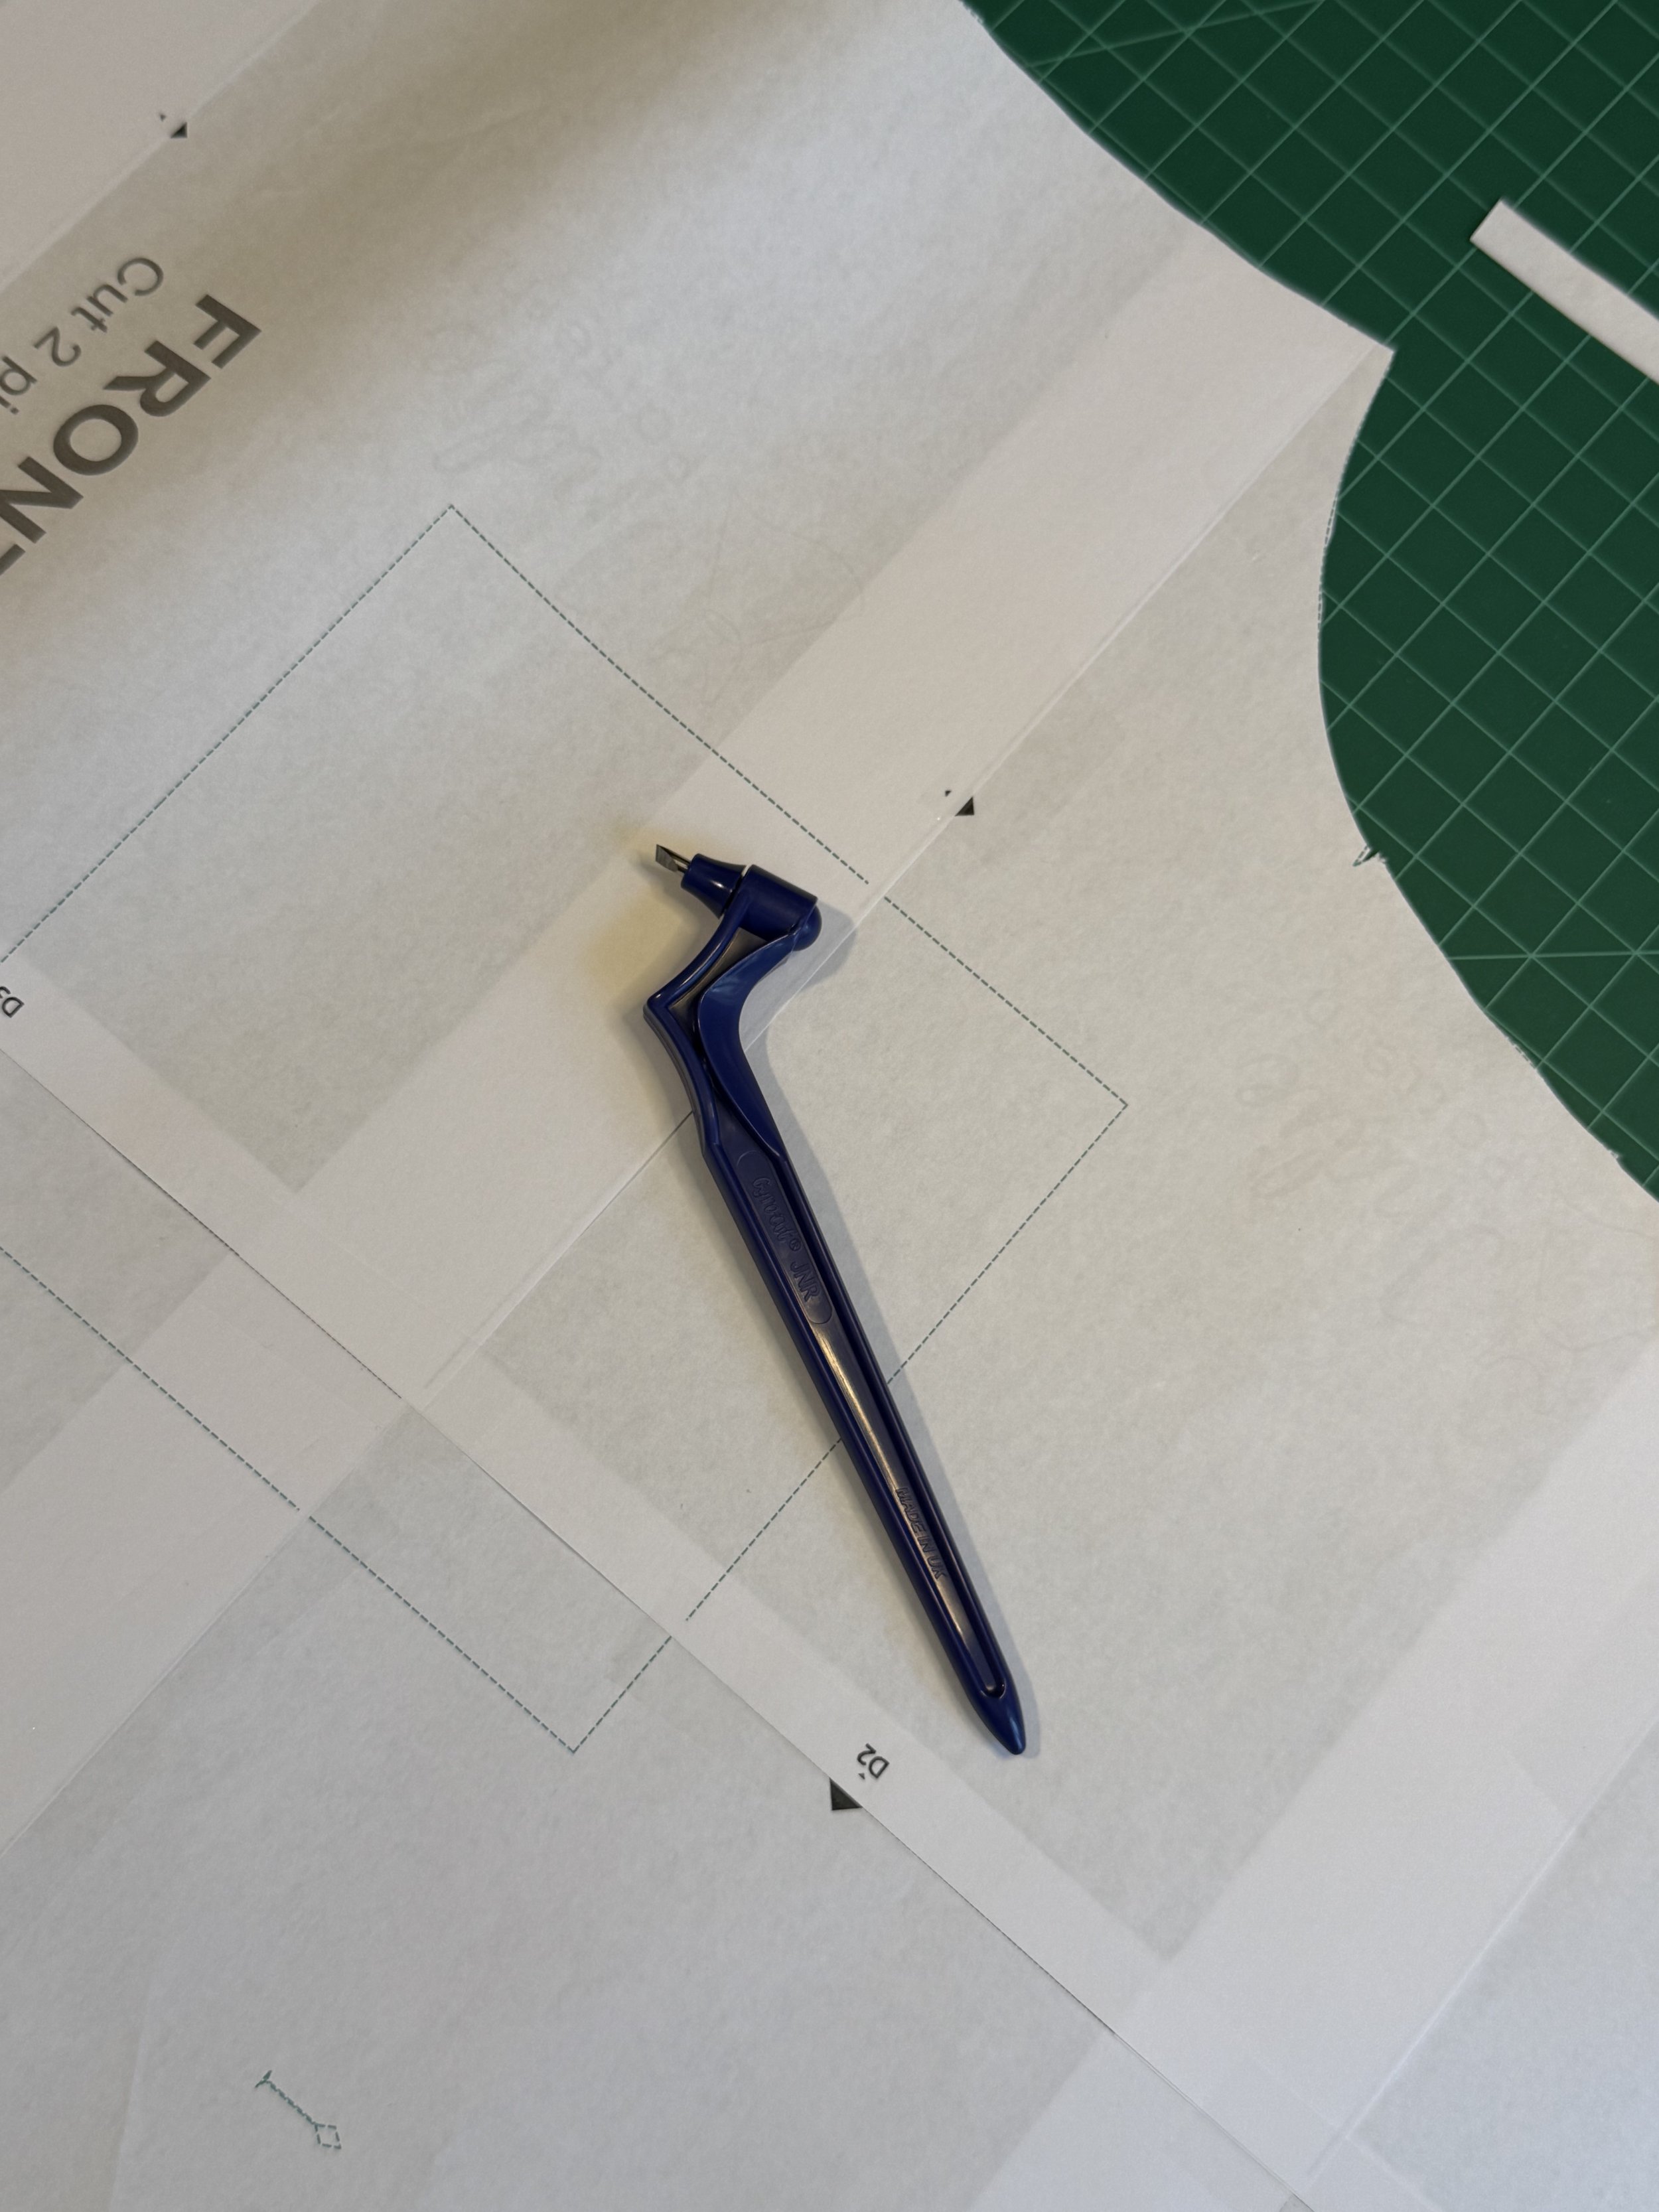
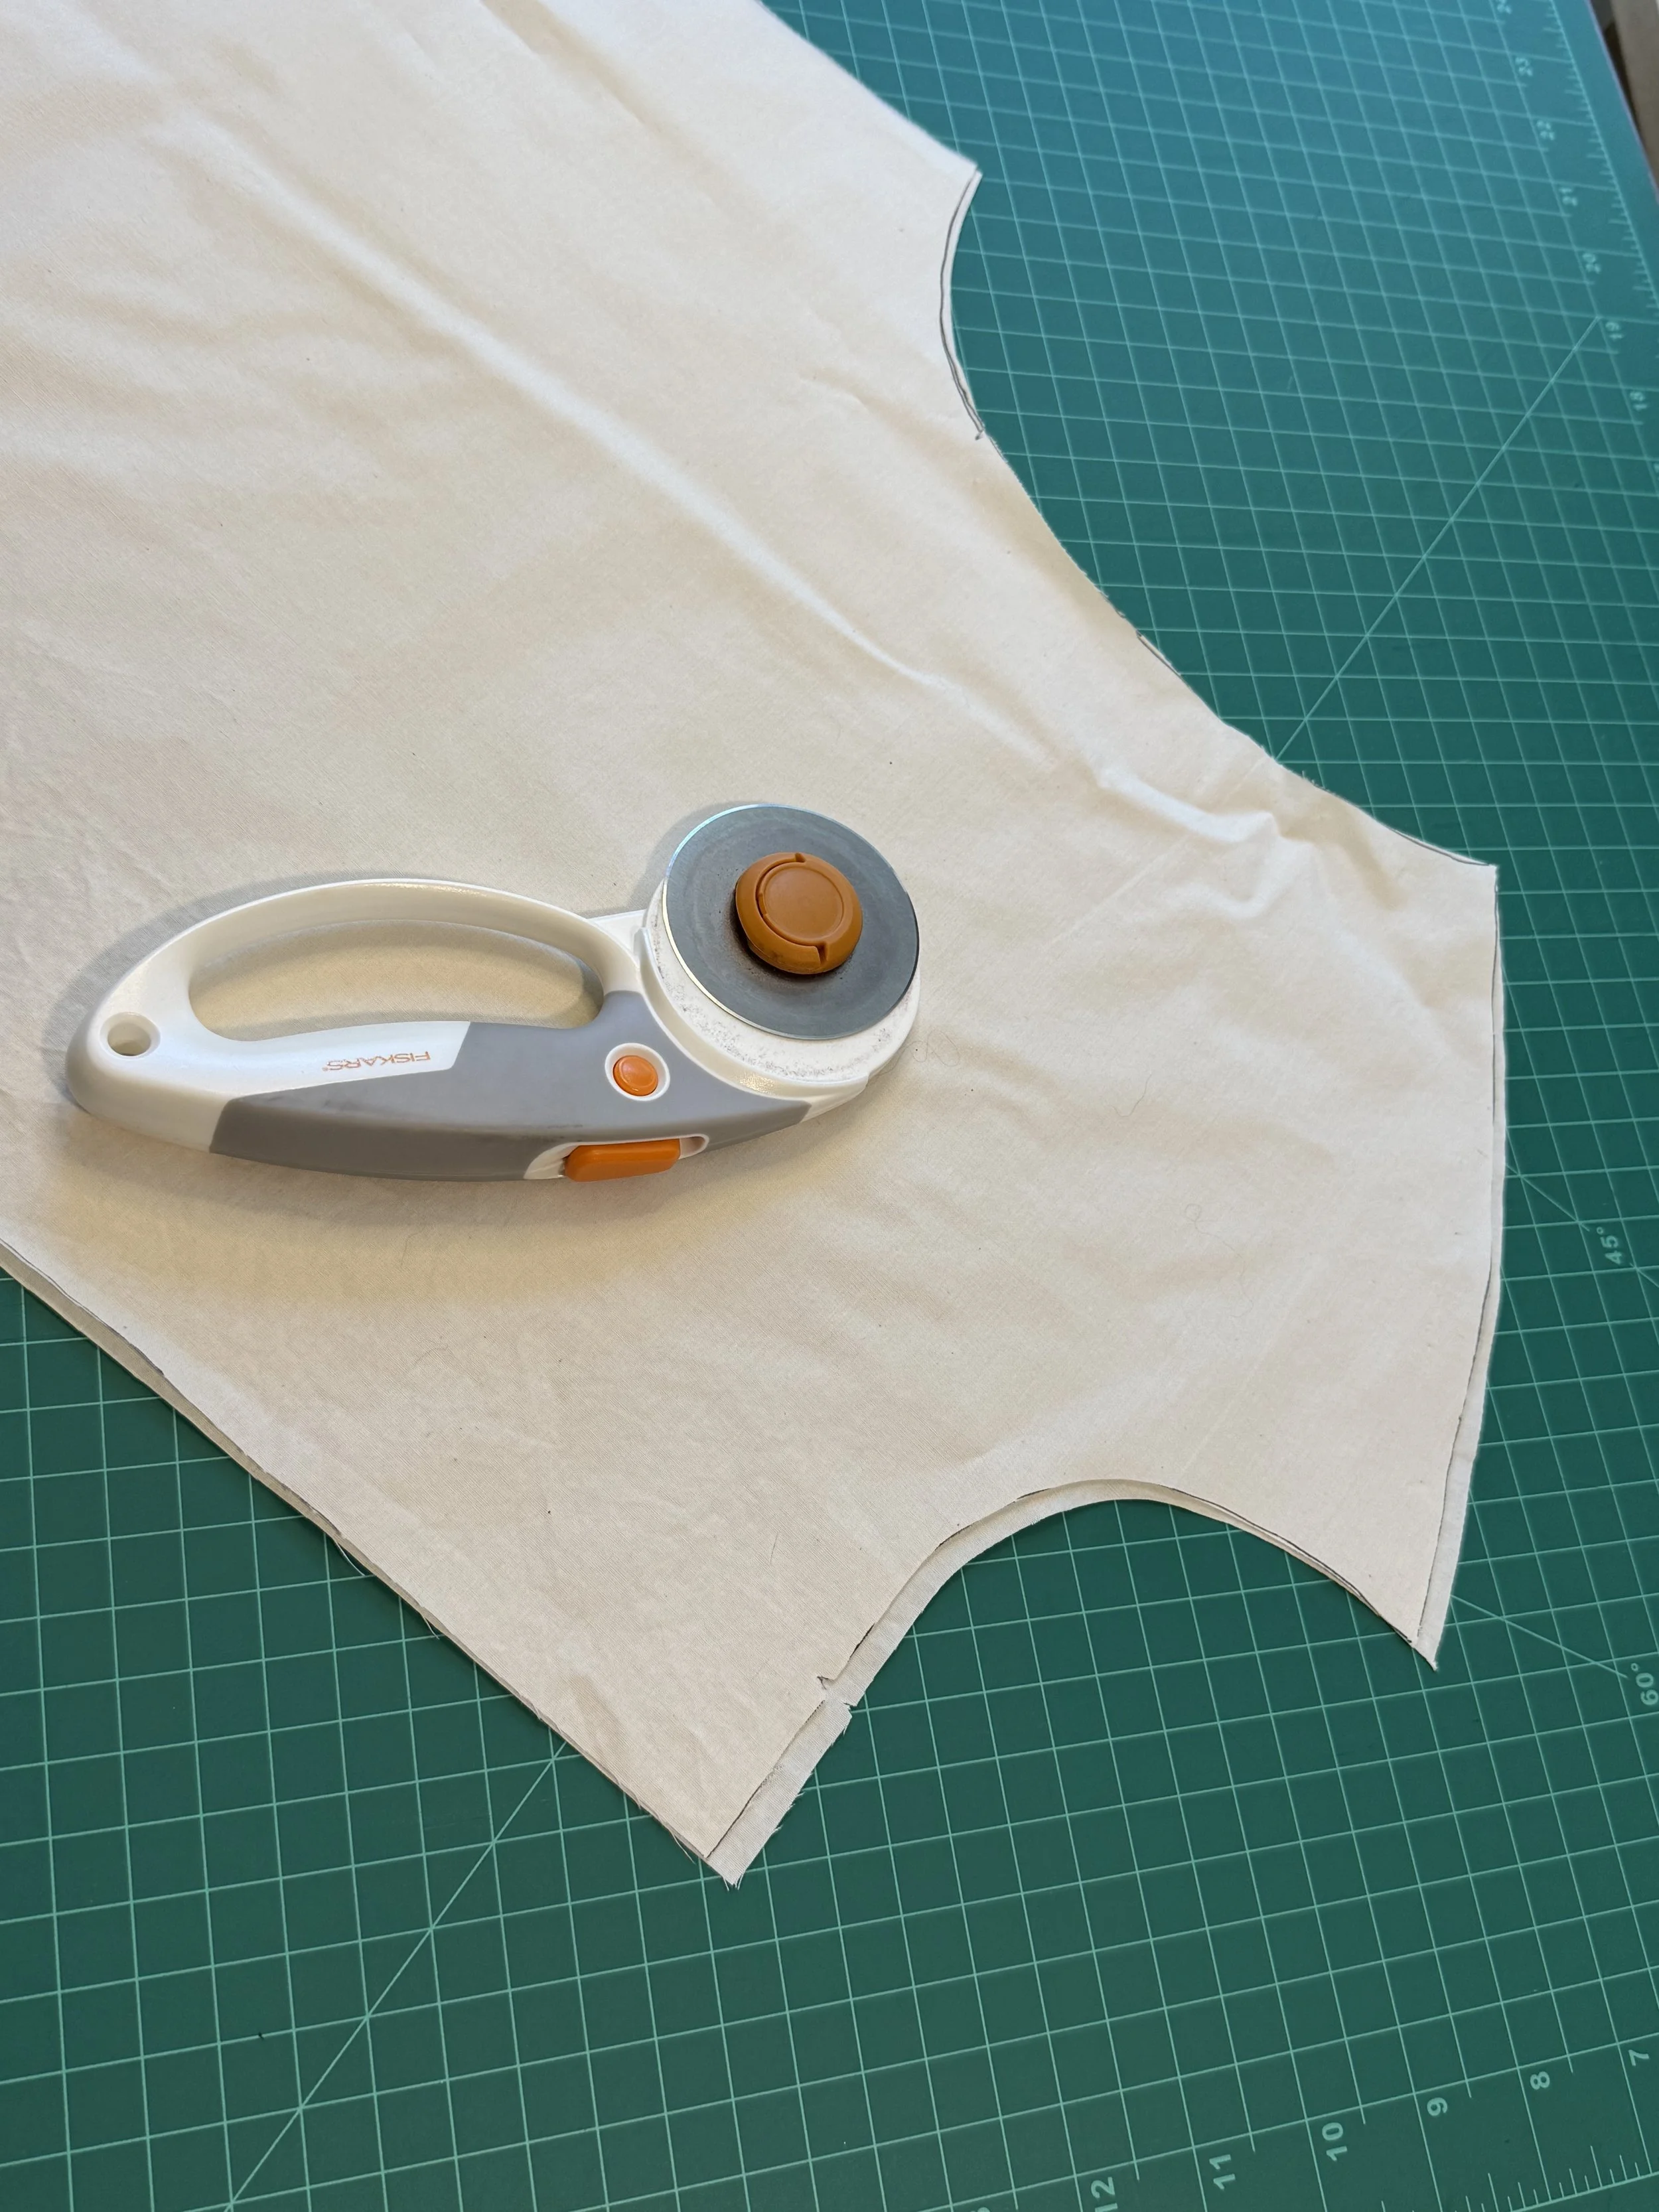
After my sock was mended, I tossed it on to give it a test drive while I moved onto my next project, template cutting! I’m working on a jacket pattern and just got a new ‘Gyro-Cut’ tool that cuts templates like a pen. This was my first try, and I love this knife pen for curved areas of the template.
After I cut my template, I started working on marking my muslin for a test garment. If this pattern works out, I want to use it as a base for an upcoming collection of mens jackets made with natural dyed linen.
At the end of the 2 hour circle, I had just finished cutting my 2 front pieces and 1 back piece for the jacket. Since there’s momentum, I’m going to put some extra time into this piece today before moving to my avocado dye project.
All for now, thanks folks!