PotFest 2017 - Part 1
Well, it's been quite a crazy few days.
Right after 'Pottery Staycation' kicked off last Friday, we were all rocked by the events at Charlottesville... And although I had hoped to be completely in the zone all weekend, I was a little distracted to say the least. Still, between reading WaPo updates and battling a sudden gnarly cold, I managed some quality studio time and cranked out some new work!
My first project was playing with some plaster to make some bats.
No, not the flying ones ;) When you throw pottery on a wheel, you usually do it on a round disk called a 'bat'. They can be made of plastic, wood, masonite, sheet rock... But my personal favorite is plaster.
Why plaster!? Because, once the plaster has wicked enough moisture out of the pottery, the vessels will literally pop right off the bat! No need for cutting a problematic stuck-on piece with a wire. This is especially useful for large/wide pieces -- platters, plates, heavy vases, etc.
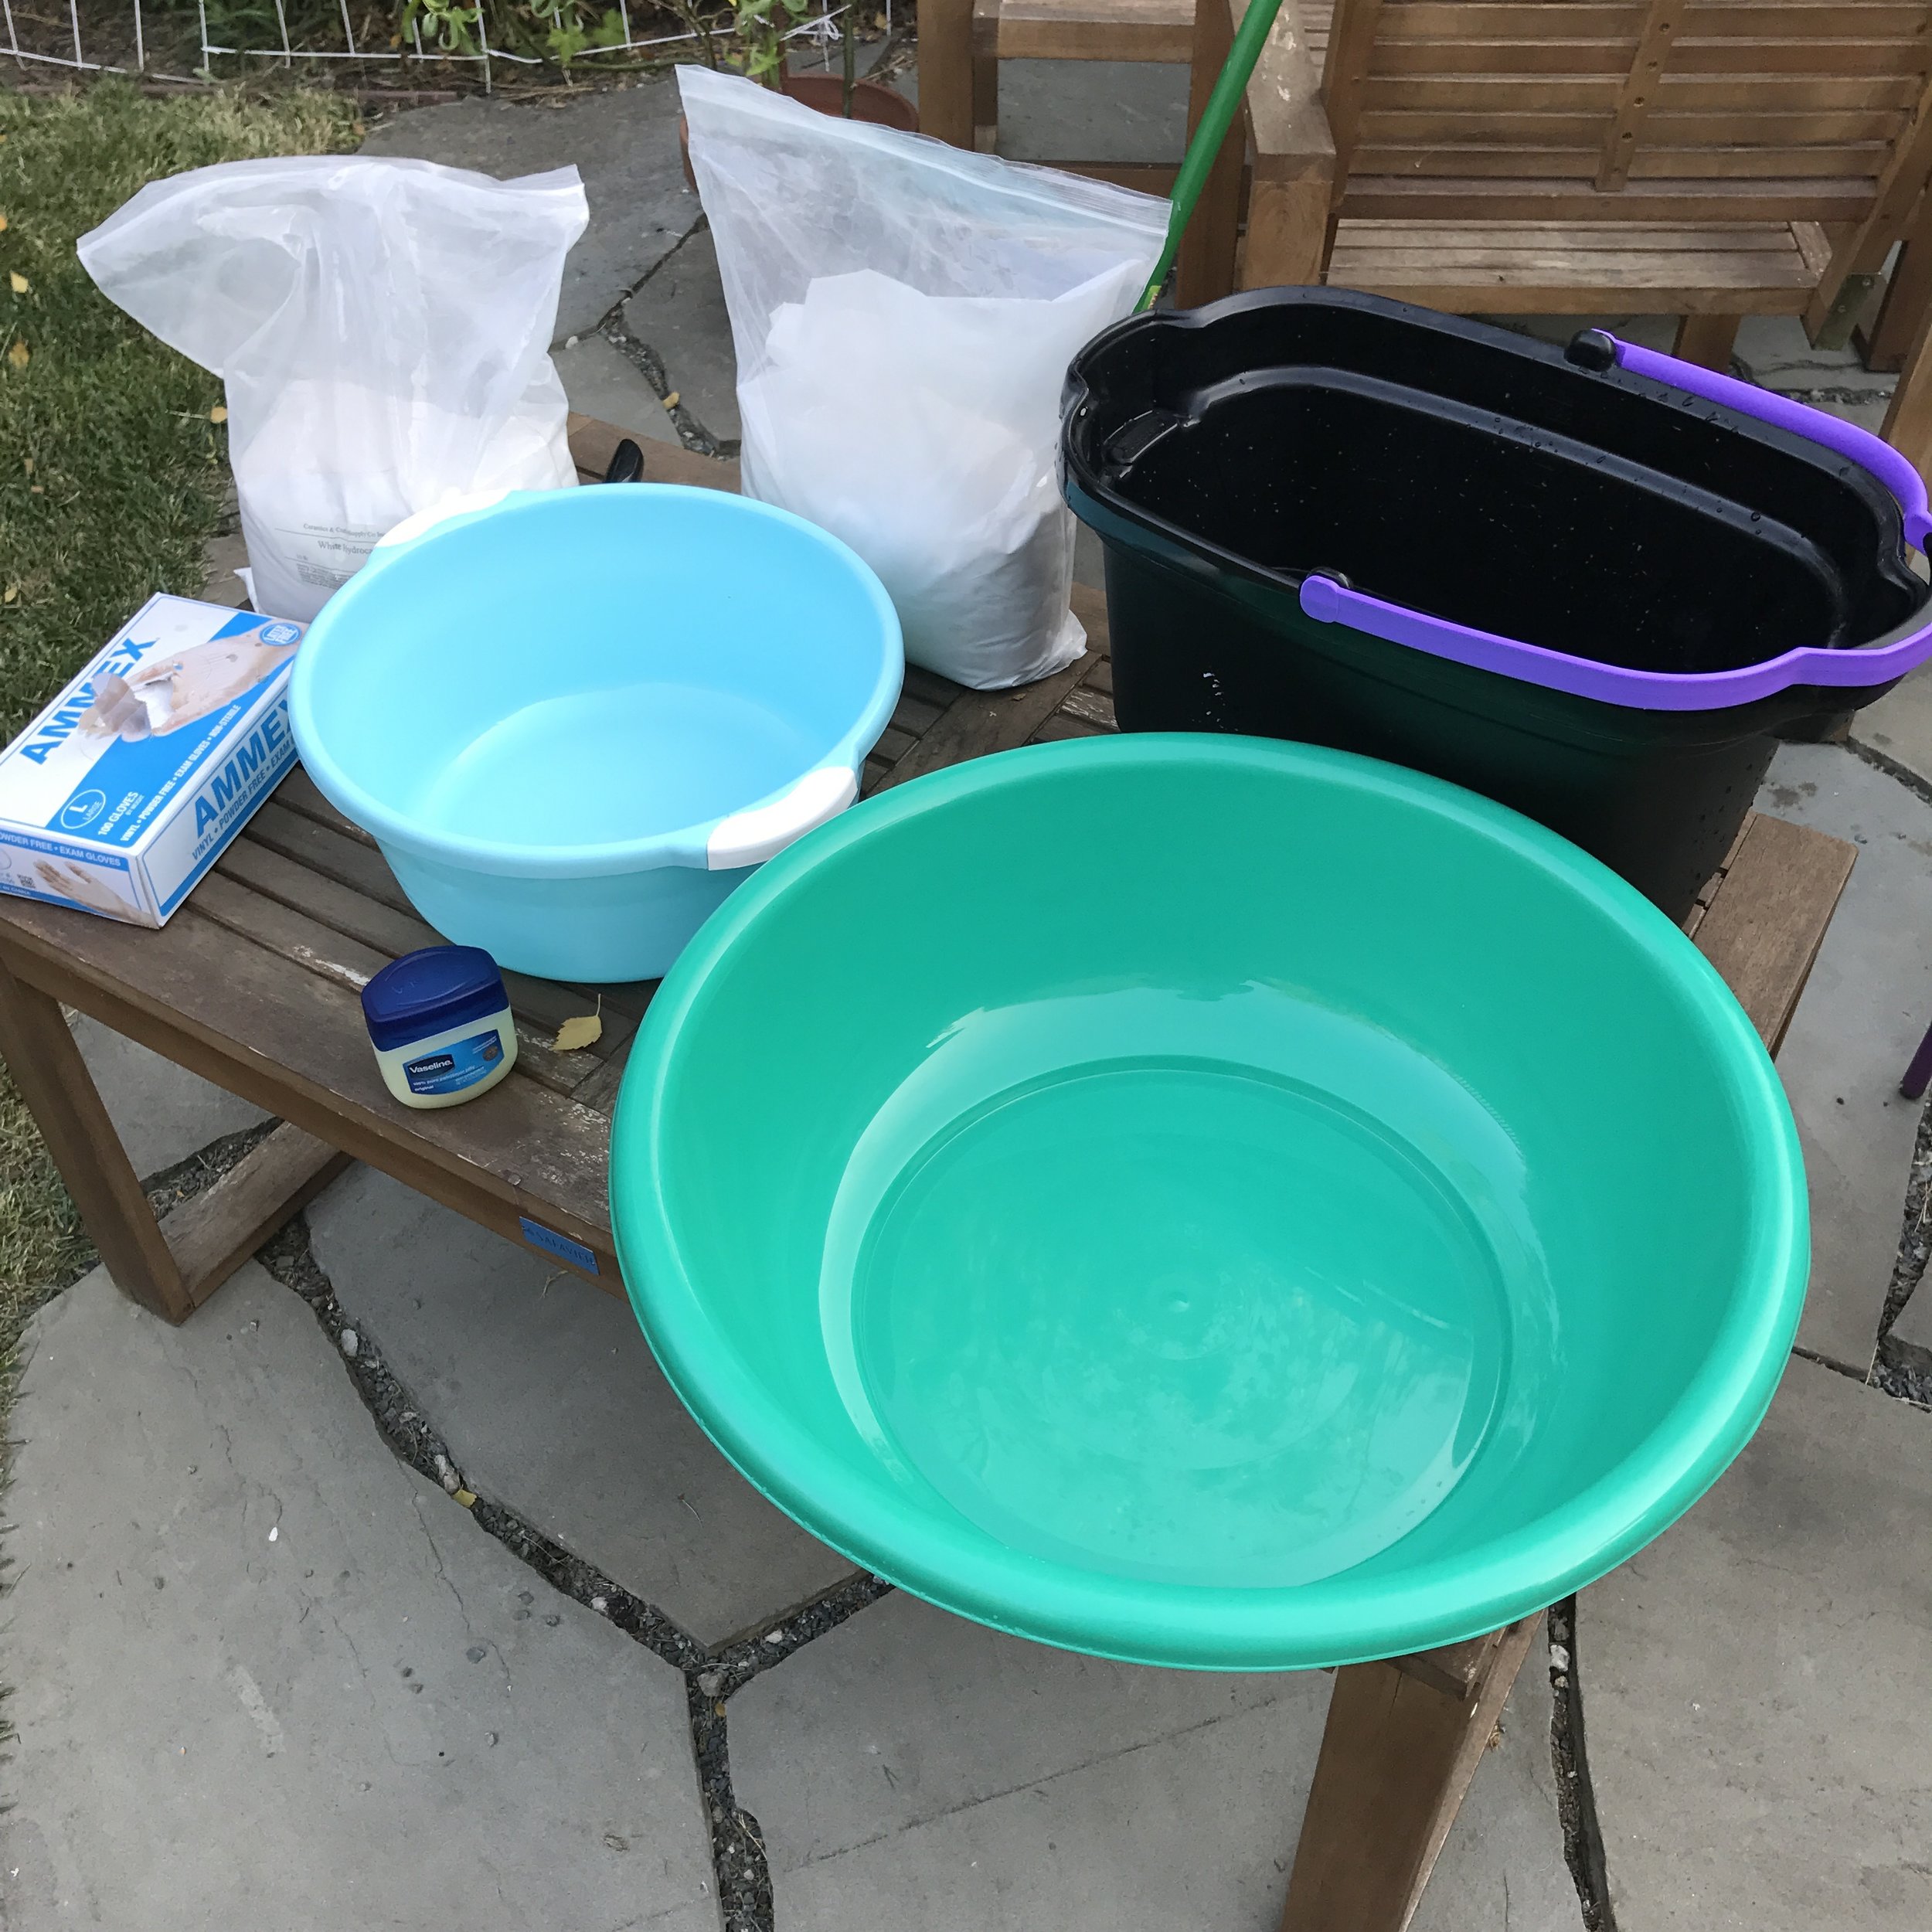
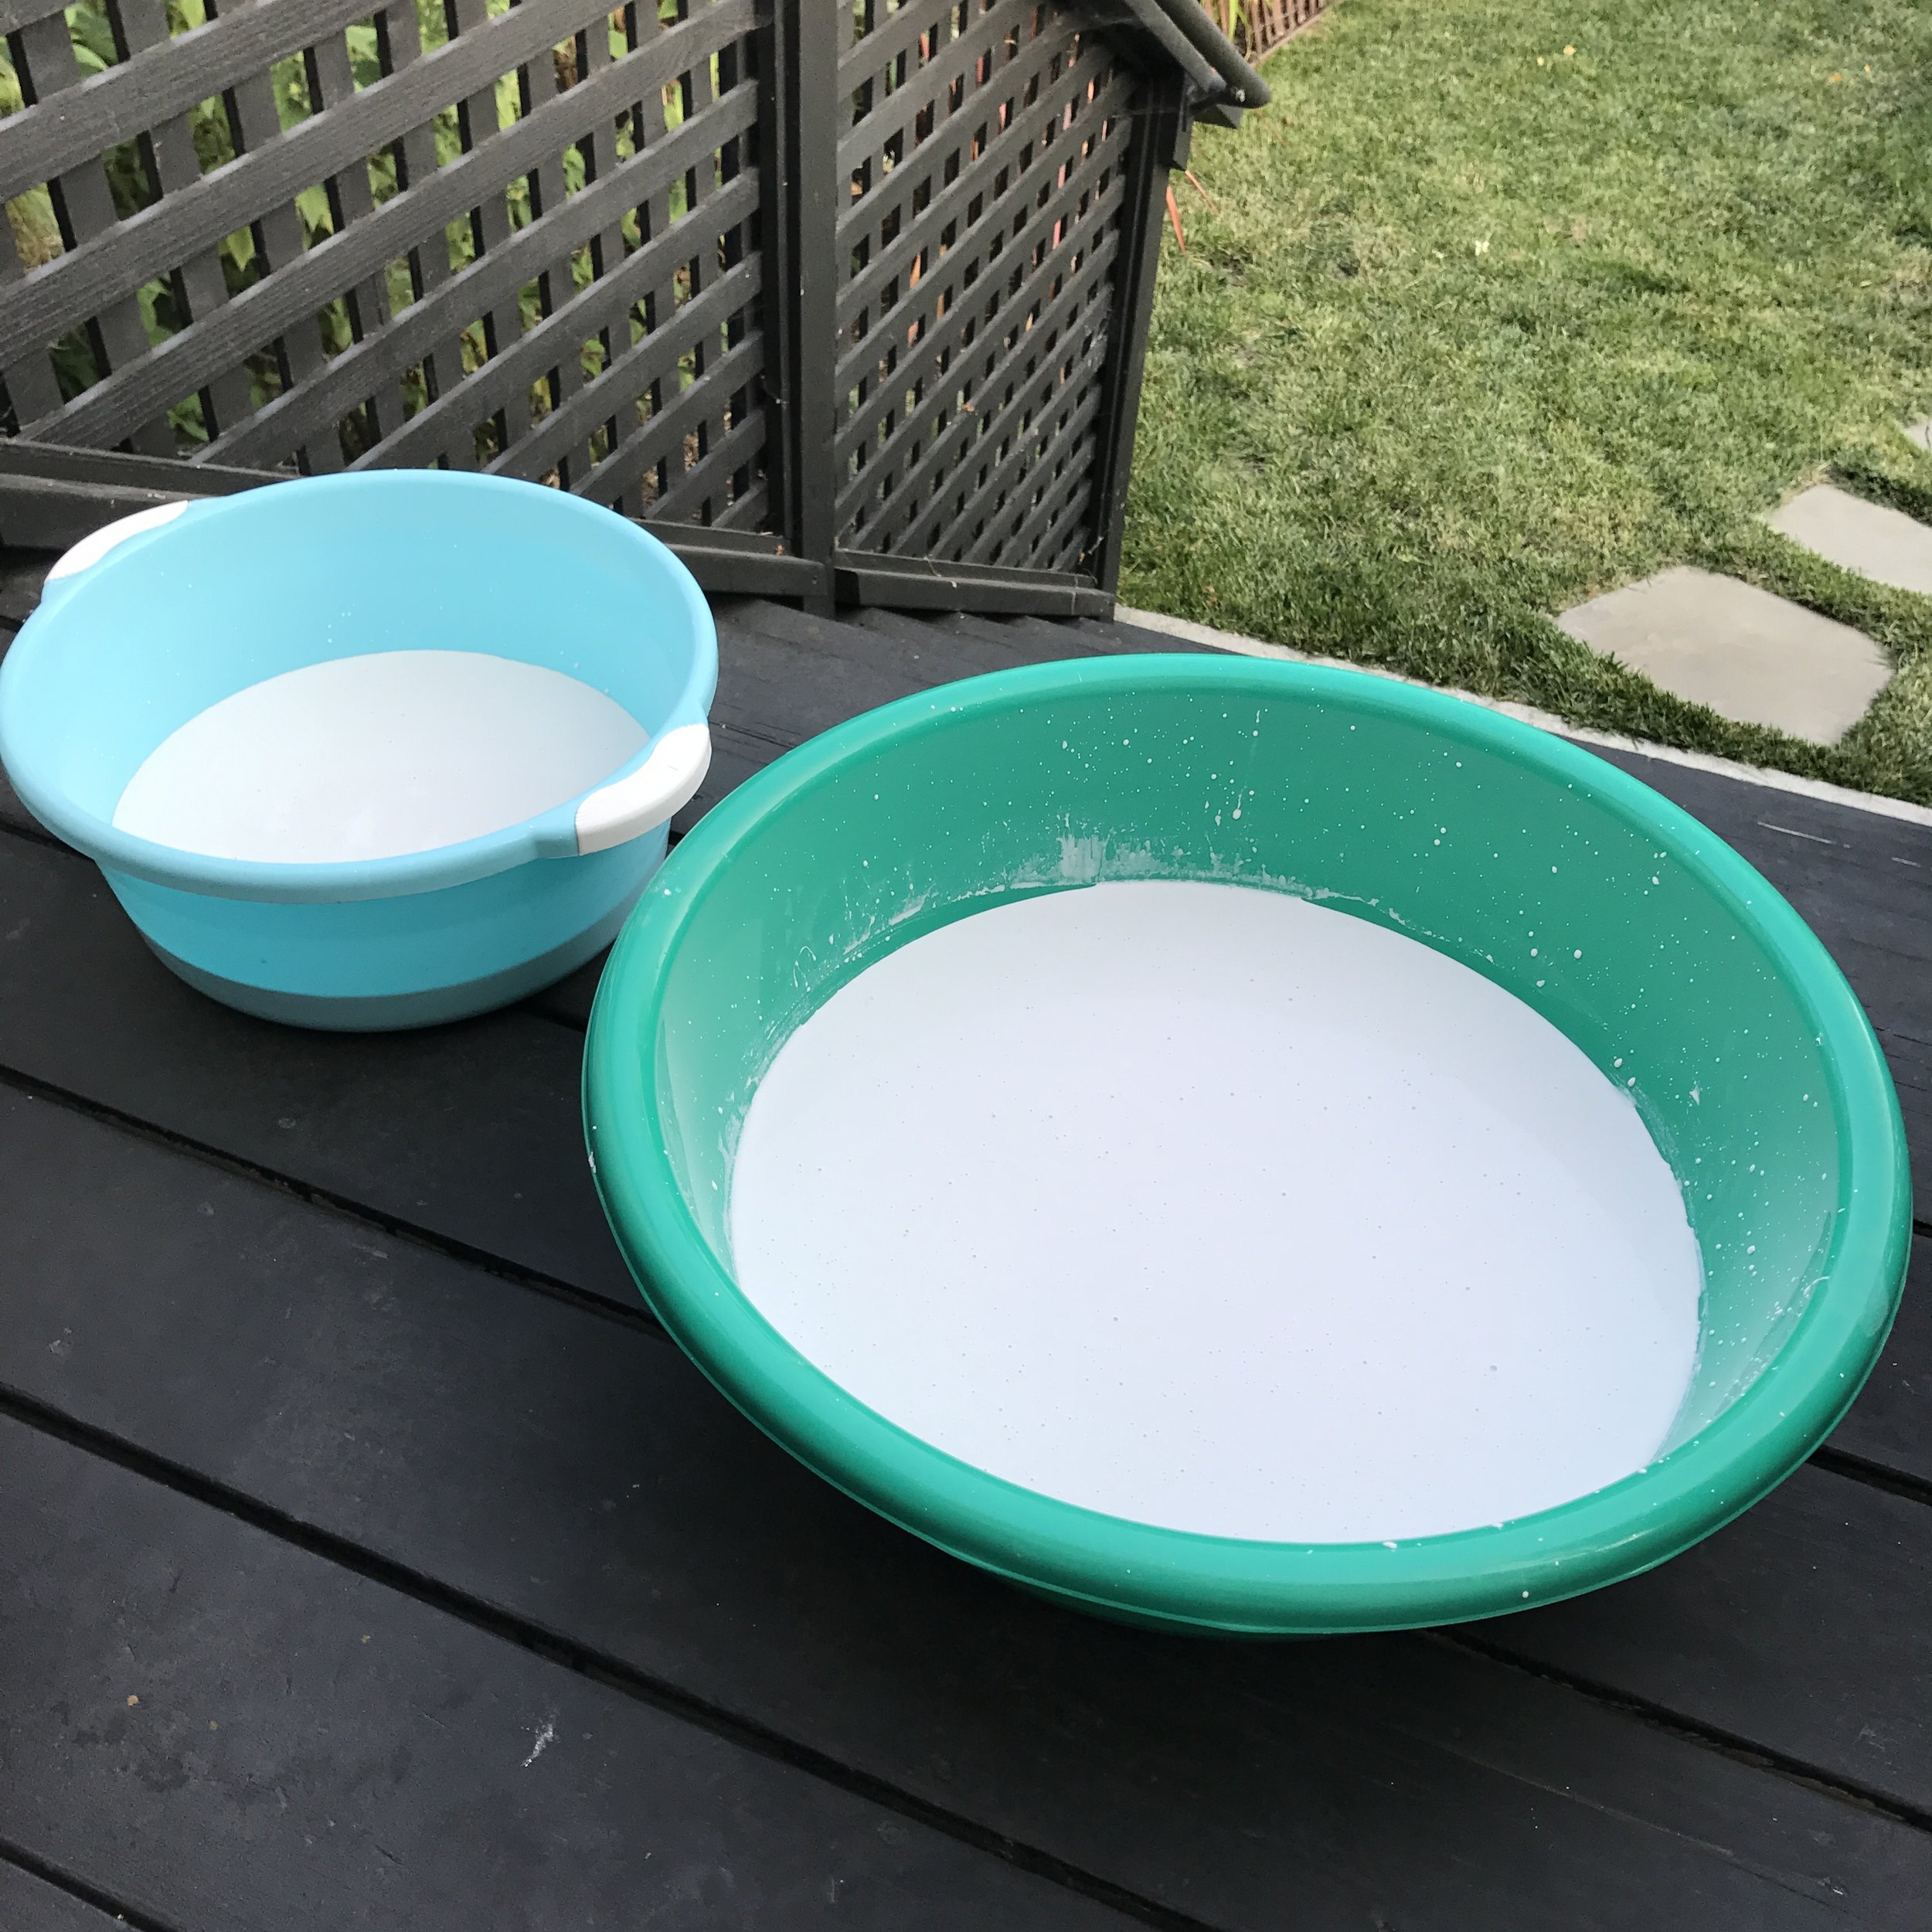
One really awkward Amazon delivery later (latex gloves, vaseline, some large basins, and a scale)... I mixed together 20lbs. of plaster, lubed up some basins, and poured myself some new bats! Watson helped by staring at me in confusion / horror.
For the plaster itself, I used Hydrocal -- it's supposed to be strong, prevent chipping, and sets fairly quickly. I mixed water:plaster 4.5:10 (or 9:20), slowly sifting in the plaster to the water. Manually mixed by hand for 1-2 minutes, then it was ready to pour.
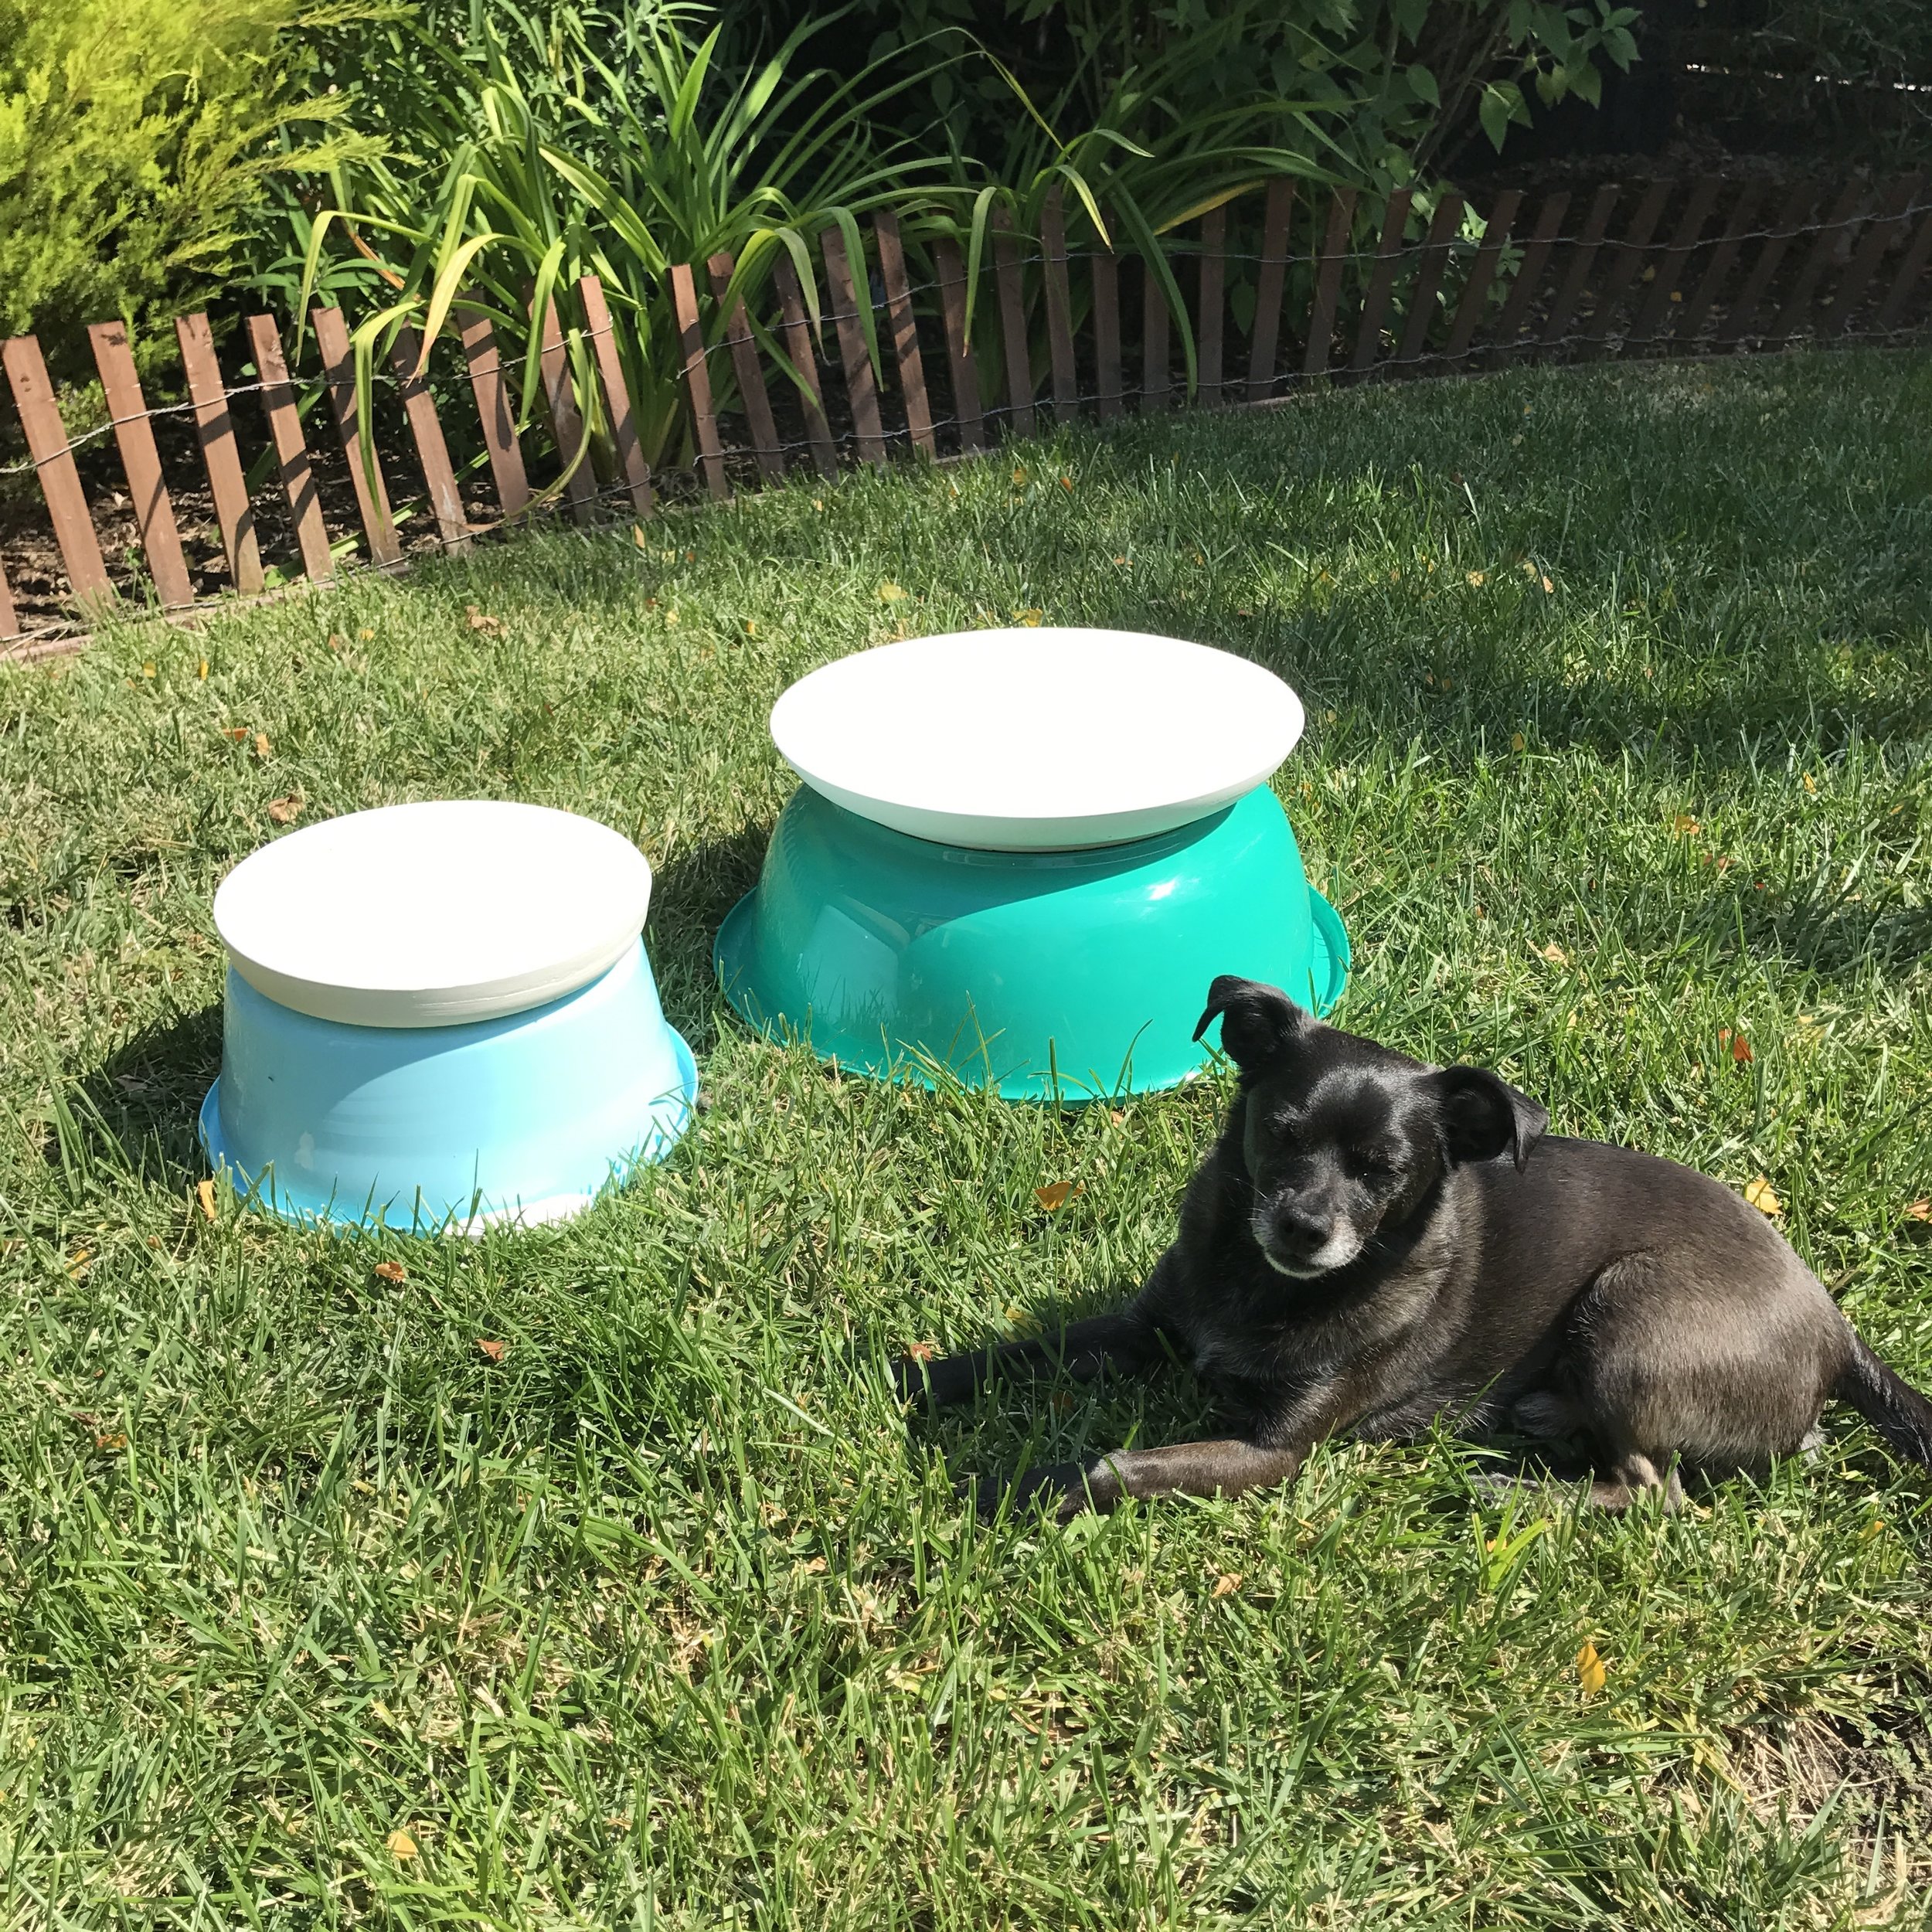
My two new bats are now curing, and should be ready to use in about 2 weeks. It’s a loving process of moving them into the sun in the morning, and then back inside for the evening.
Overall, very happy with my results, and I can't wait to throw my first LARGE platter on a bat I've made!
On my next blog post, I'll talk more about my actual pottery throwing!
As a little teaser, here's a time-lapse video of me throwing the base for a large vessel. (That's a blow-torch I'm using to stiffen the piece while throwing).
PotFest 2017
I'm excited!
Today is the first day of my Summer Staycation / PotFest 2017.
I'll be taking a week away from my work & daily life to feed and nurture my creative self. Grey is in New York City for work and to visit family, so it's just going to be me & Dr. Watson.
My days will be spent throwing pots and nights spent cooking delicious food, tackling big projects at home, hanging out with Watson, and watching trashy TV!
But one of the things I'm most excited about is sharing all of this with my friends & followers. I always enjoy witnessing and learning about other people's creative processes... So hopefully someone will enjoy mine. :-)
Keep an eye out for videos, blog posts, photo updates, and maybe even a Live Stream -- if I can figure it out.
Welcome to PotFest 2017!!
-- Will

Glazing - Chemistry, Alchemy, and Luck!
I don't love glazing.
Without a doubt, it's the hardest part of pottery.
Not only is there a ton of science/chemistry involved (which I love), but there's even MORE trial and error (accompanied by random luck -- which I don't love).
If you read a few books on Glazing, you'll repeatedly see the motto "Test, test, test!" Because even if you have a precise technical recipe for a glaze, all of the following will affect how the glaze comes out:
- Kiln Environment
- Kiln Temperature
- Kiln Firing Cycle
- Clay Body
- Quality / source of ingredients
- Thickness of application
- Glaze on ADJACENT pieces in the kiln
- (and many, many more factors)

Coyote White Crawl Glaze, ^5-6
So, with that in mind, I've been hunting for a glaze! Specifically, a white crawl / lichen glaze. These glazes have such a high surface tension that they 'draw' up on themselves, creating a cracked surface that looks like a dried up river bed or salt flat.
This past weekend, I spent a few hours in the Glaze Room at my studio, and mixed up some new (and old) glazes. I'm so fortunate because The Potter's Studio in Berkeley has some amazing glazing facilities, including a brand new ventilation system to make sure I don't inhale any toxic dusts.
Here you can see me doing a time-lapse dance while whipping up a batch of my favorite Shino glaze-- measuring ingredients out, mixing them in water, sieving them (a few times), then measuring the right amount of water.
After a long day, I ended up with three test tiles to try out! One for my favorite Shino (to make sure I mixed it correctly), and two different crawl tests.

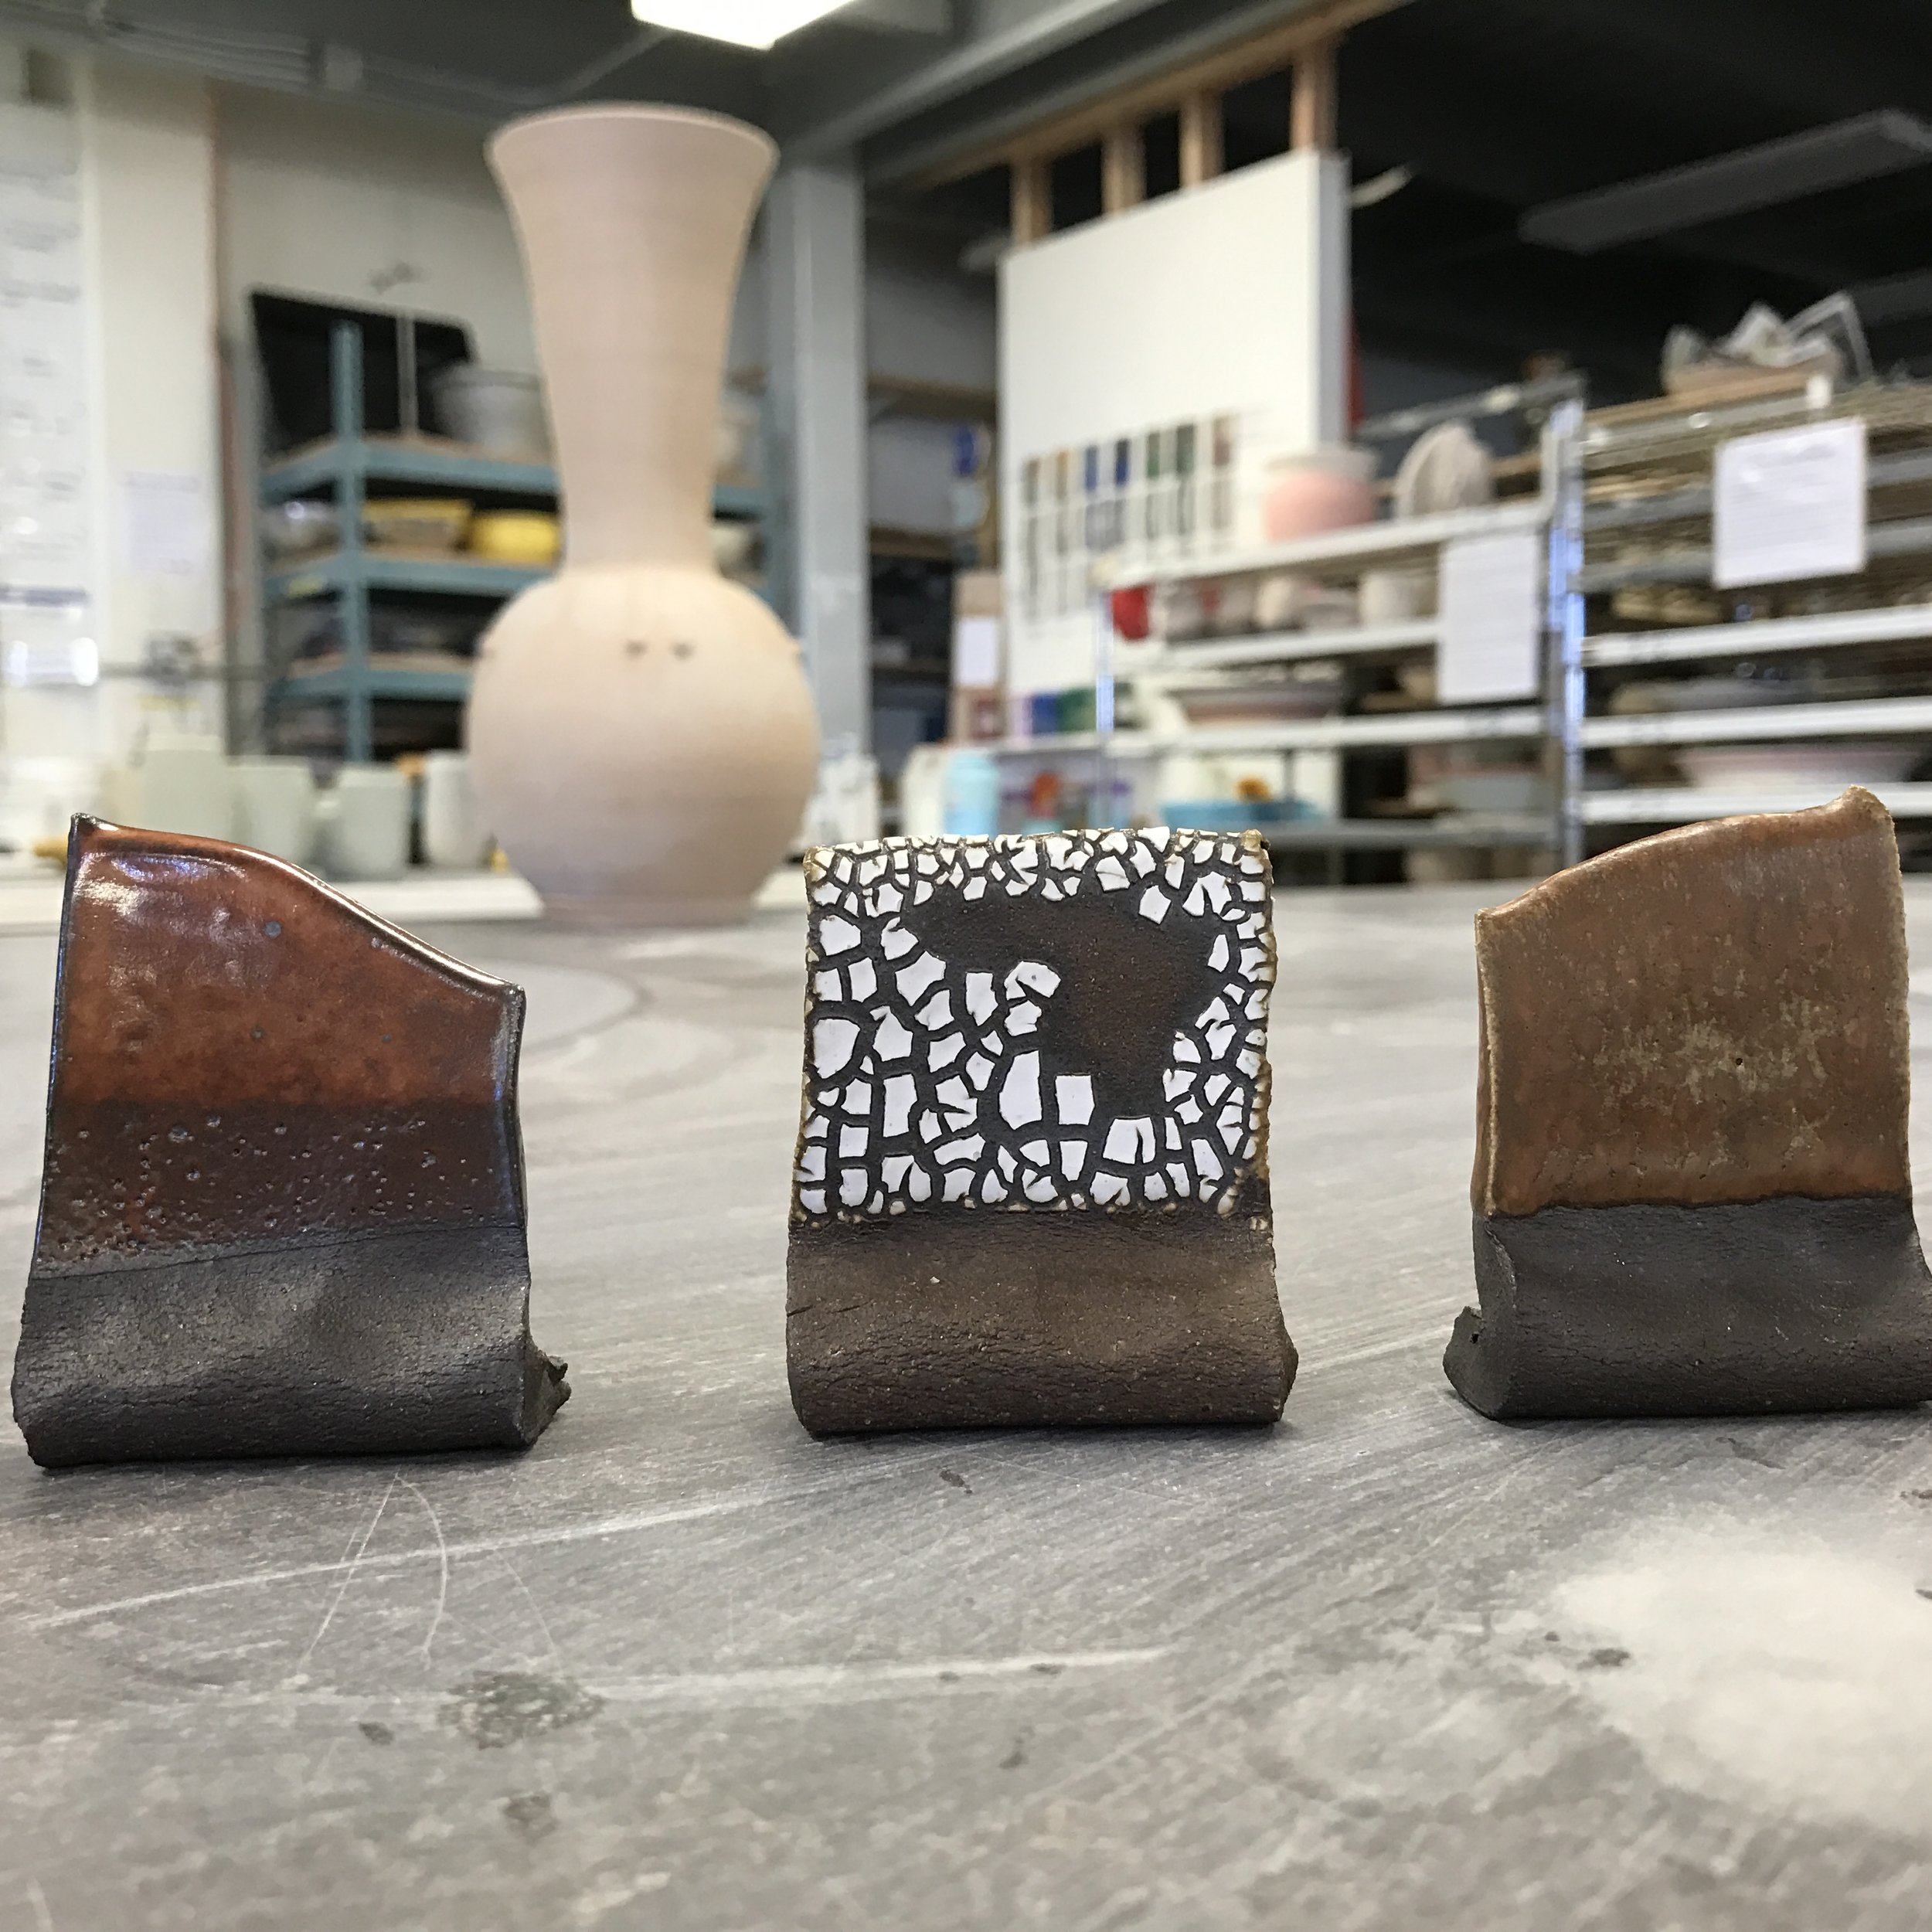
Mixed results! My Shino turned out as expected (on the left), and the middle lichen glaze I'm pretty happy with. Some of it flaked off, but that's controllable with application.
The glaze on the right... Is why glazing is so hard. I followed the recipe to the letter. I applied it, and I could see it cracking as I expect crawl glazes to do. BUT, the final result hasn't crawled even a bit! It looks like a normal, brown-ish glaze.
In the end though, I count this as a success!
I found a lichen glaze that works for my clay body / kiln, and am ready to start glazing some pieces in the upcoming weeks.
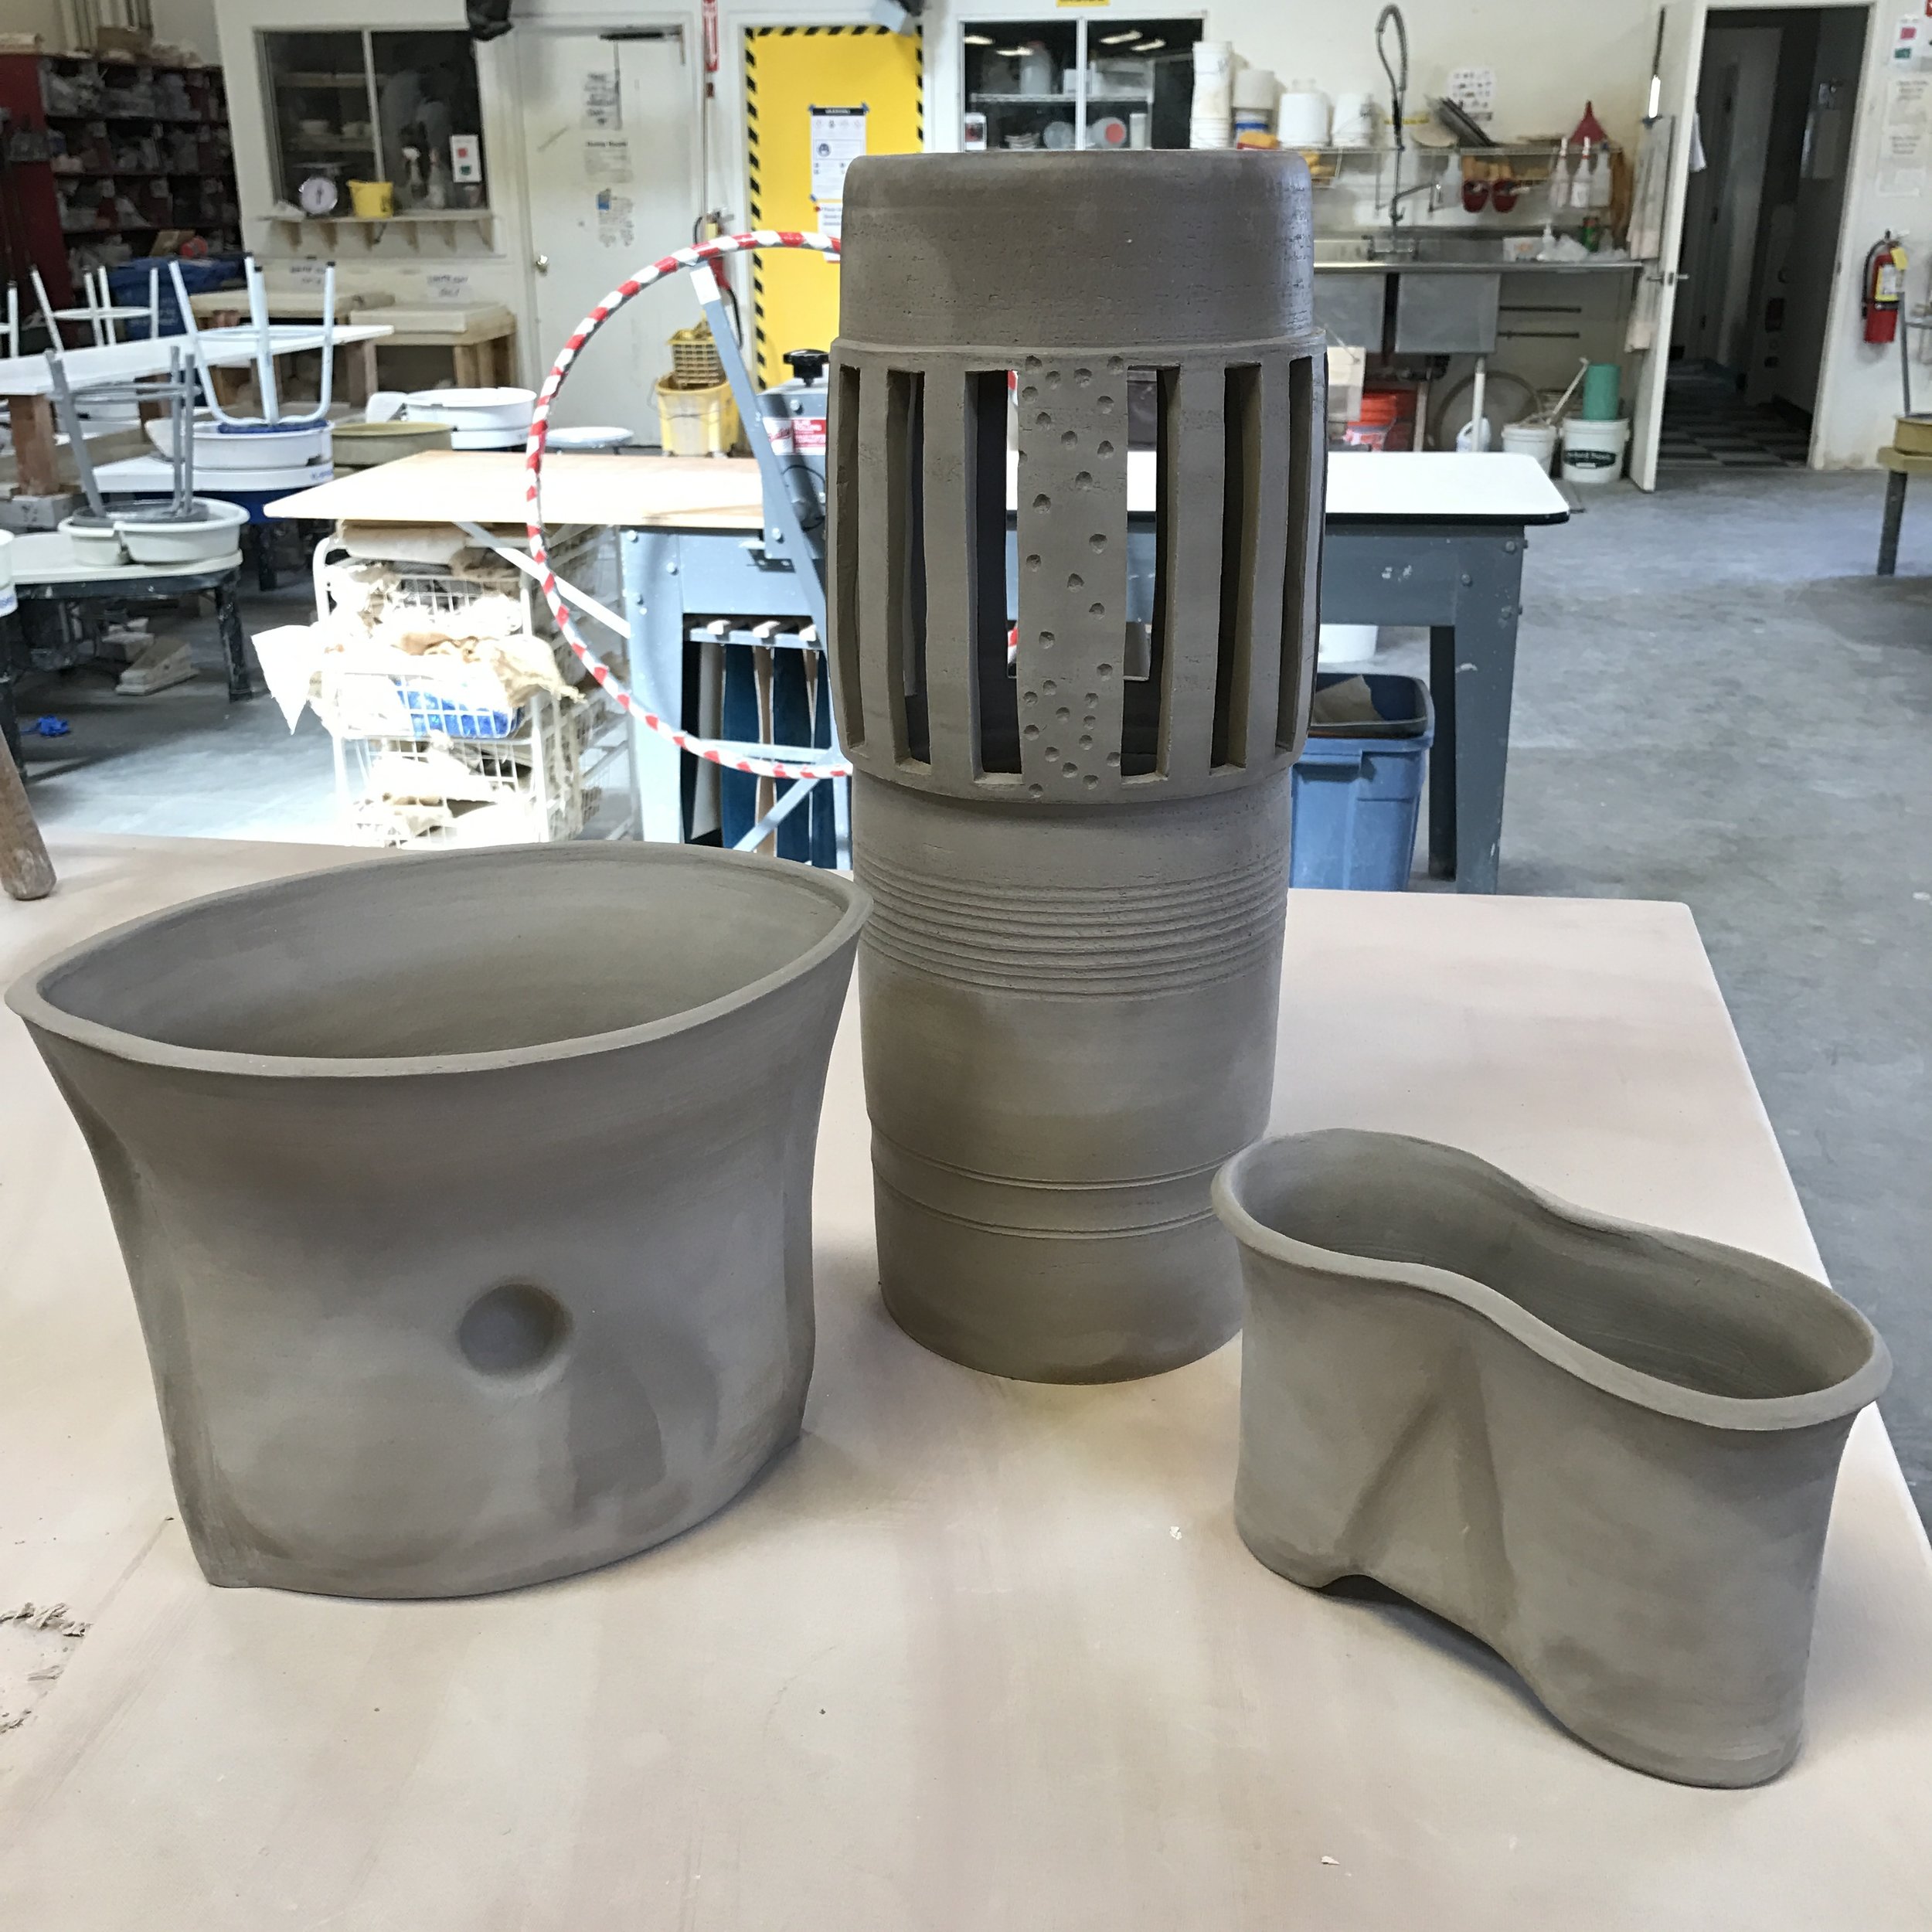
New pieces to glaze! ==>
Bound/UnBound-ish
As someone who is gernerally active, and once able to do the splits (I have stories), one of the worst times for me is when my mobility is limited. Over the last week I have been working with a back injury which had me on bedrest orders for days. It took time to get back up and walk around, and I'm still working through it- but finally able to leave the house alone, with a cane- exciting, I'm sure.

There were a few things that I was so thankful for. My family and friends made sure I stayed in bed (not an easy task).My hubby took excellent care of me- meals and back rubs. He even unloaded the studio kiln and brought home my new pieces.

Our copilot, Dr. Watson kept excellent company- and pinned me down so I wouldn't move.
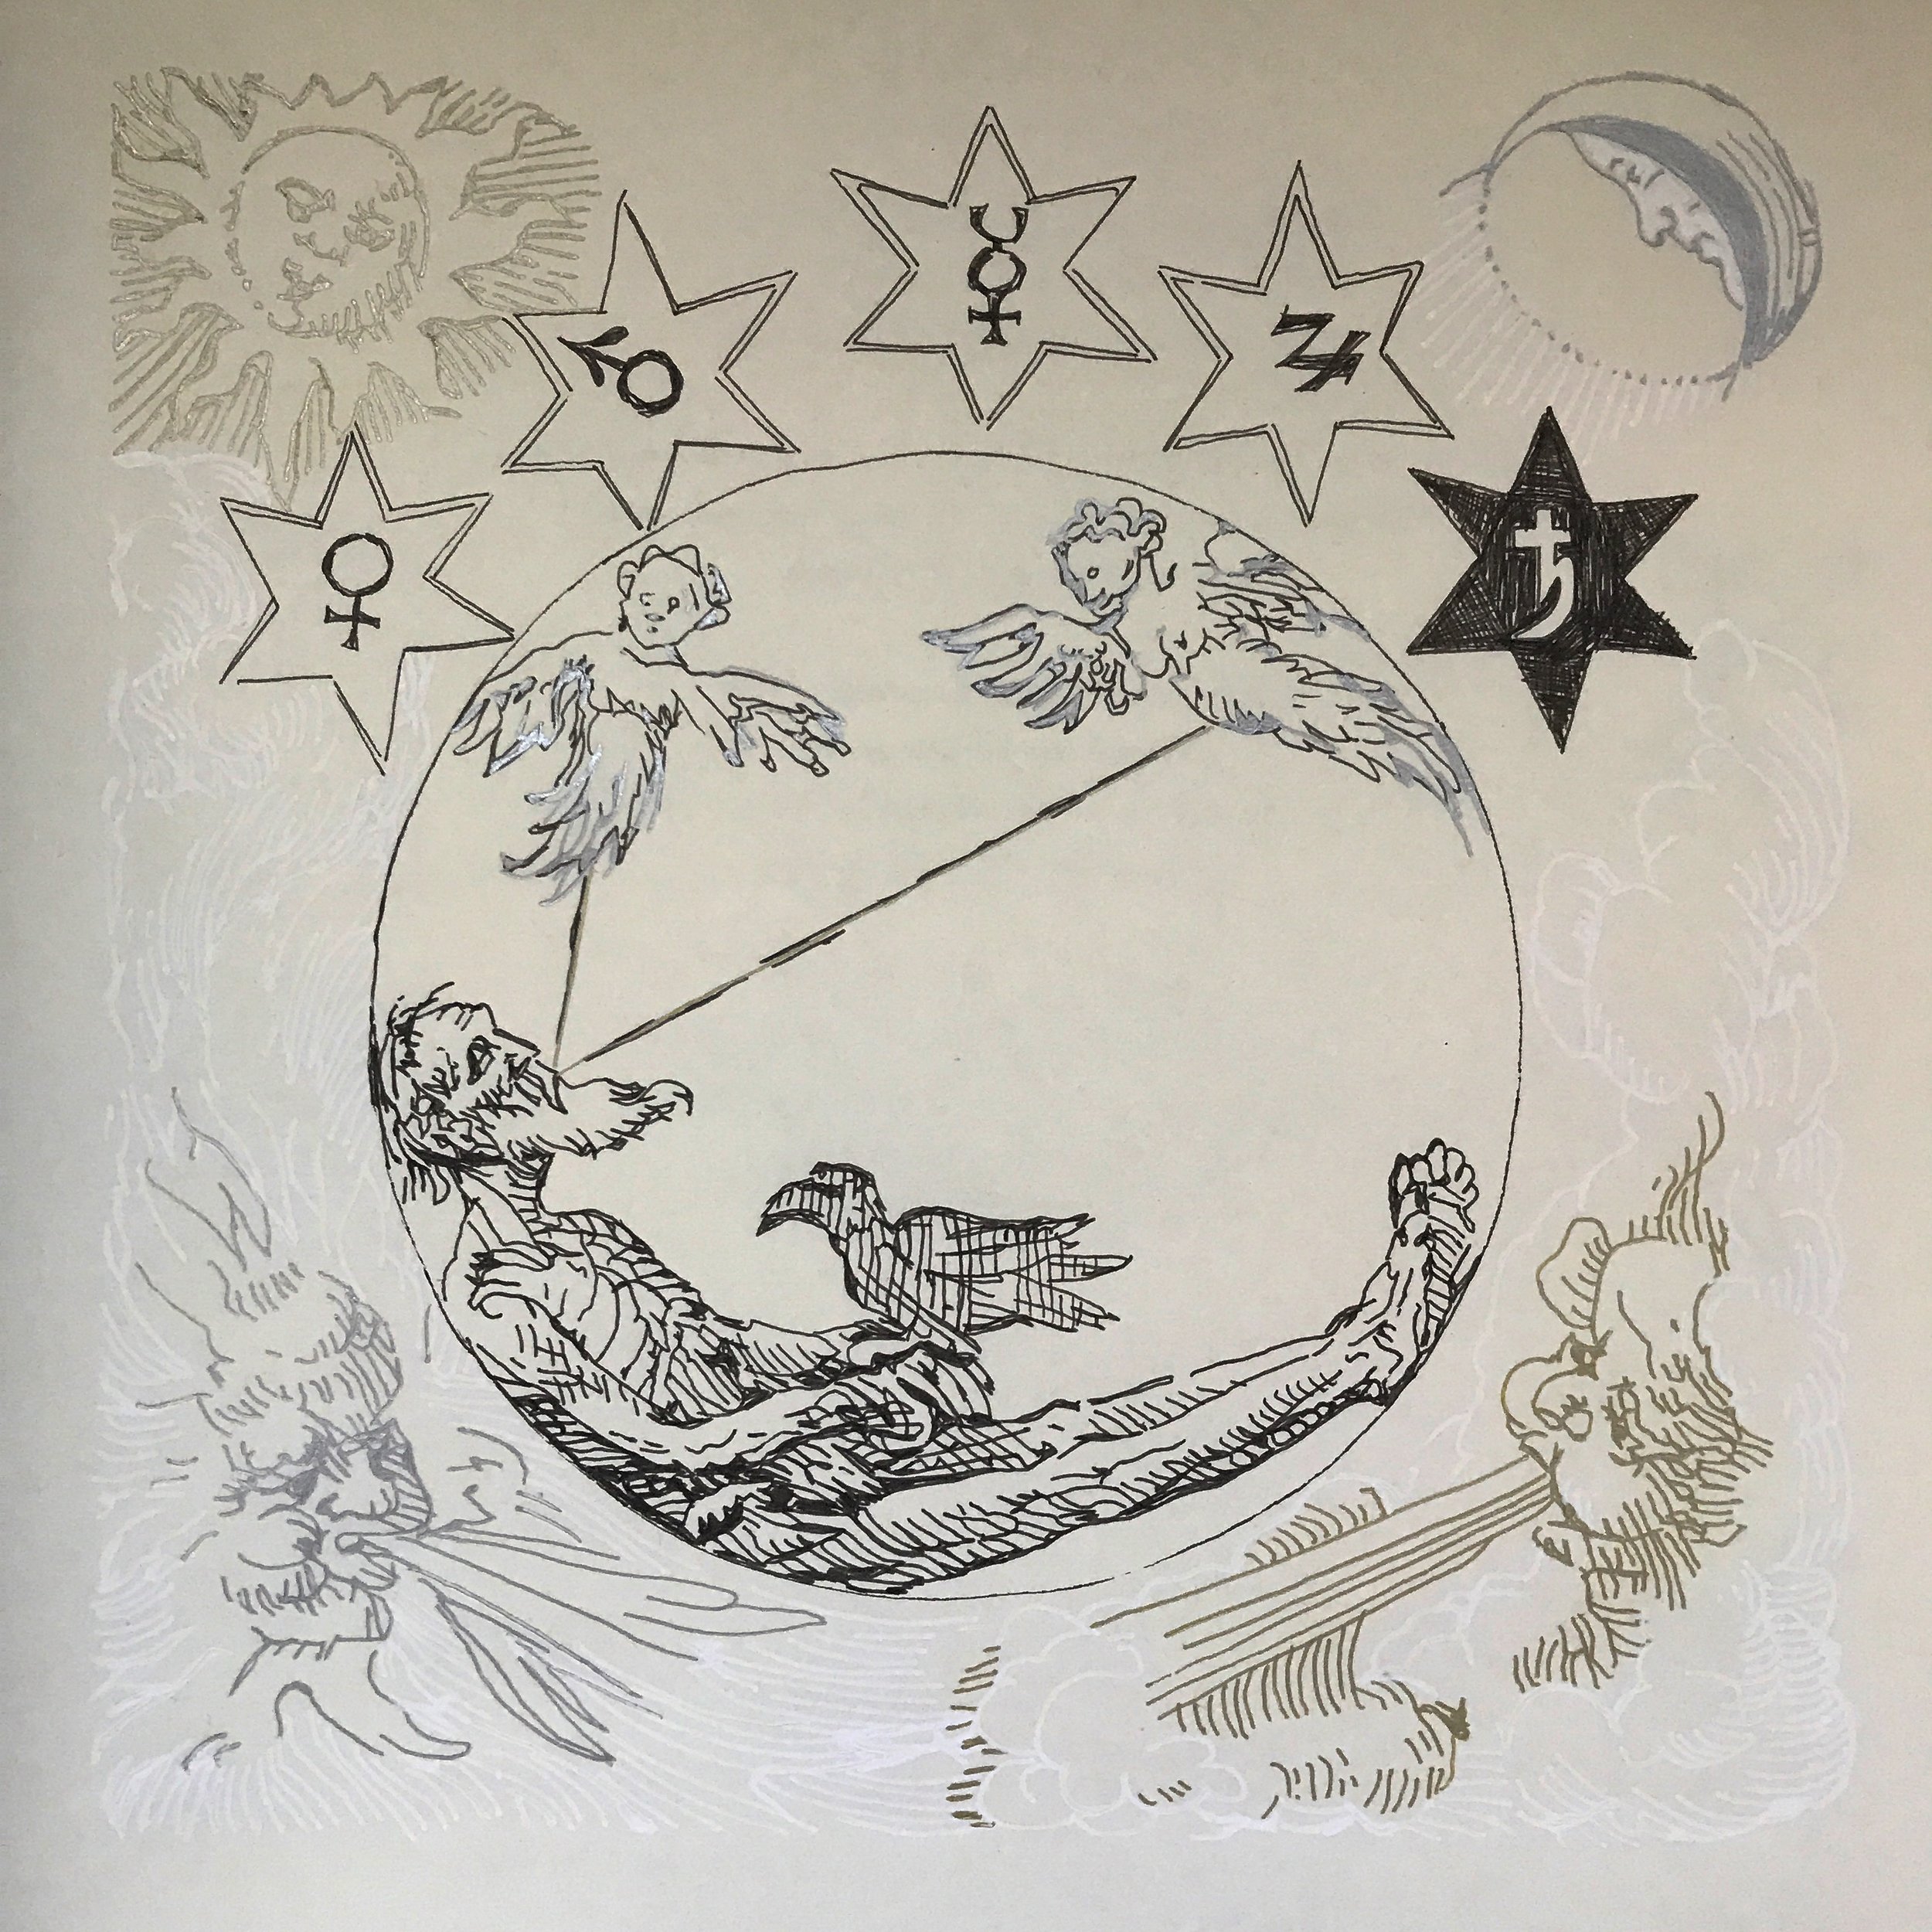
I also enjoyed a boyish stab at some ink drawing. I think it might be a few weeks before I can work on large watercolors, and working with inks really remind me of sketching in my childhood room, listening to music, and creating landscapes.
But, I am also thankful (as I am sure Will is) to finally get out of the house- get some sunshine!

And also happy to pick up my first Plexi face mounted piece! This one is Luna Study, at 8x10.

Creation
I like to create. Most of us probably do, when you think about it.
For me -- and I consider myself fortunate here -- childhood was all about creation. Painting furniture, watching mom & dad in the photography darkroom, making pottery, ikebana classes, helping my parents in the woodshop, making & selling digital art (cutting edge in the mid-90s!), rubber stamping, and a thousand other crafts / hobbies / artistic endeavors.
All of my best memories involve learning how to make things.
I still crave it. I LOVE learning new trades and experimenting with new materials to create.
That's why I was so happy when I got an opportunity, through my work, to participate in a Blacksmithing Workshop at The Crucible. For those unfamiliar, The Crucible is a great industrial arts non-profit in Oakland that offers classes in everything from Blacksmithing to Glass-Blowing to Neon.
For my department's offsite, I got to hammer and twist molten metal bars into jewelry. How cool is that?!?!
The teachers were fantastic, and laid out a plan to make a bracelet. Starting with just a steel bar, we learned how to draw out and taper the ends, put a twist in the bar, curl the ends, then bend it all into a bracelet. And this was the result! Very fun and very rewarding. I'll definitely be trying blacksmithing again.
Hand-forged bracelet, 2017. @ The Crucible (thecrucible.org)
Back on my usual side of the fire-based arts, I finished making what will be a new illuminated side table. This one is much taller than the last one, and I'm really happy with how it came out. It needs to dry, then it will be ready for the first firing, glazing, and final firing.
I'm so privileged, excited, and pleased to have these opportunities to create. And I encourage everyone out there to embrace the same spirit, and see what a little creation can bring to your life.
Bed Rest
Will and I were very excited to have a long 4 day weekend. Our schedules have been intense over the last few months, and although we have scheduled regular 'breaks' to have down time- 4 days of art, reading, hikes, and eating was needed.
Afrer a productive 2 days in the studio, I threw my back out on the morning of the 3rd day. Nothing major- but day 3 just melted as I became one with the bed.

Now, on our last day- July 4th, I will continue holding court from our guest room bed. It is covered in several heavy volumes of books, a few journals, a laptop, and a coffee mug.
I won't be able to watch the fireworks in person, but I'm sure I'll hear them and Dr. Watson will be hiding next to me and Will. We'll still be celebrating our nations independace- 241 years today, and still learning every day.
Grey
Below studio shots from this week:

Mars, detail, WIP

Birto, WIP

New series development- ;)
Another year...
Well! It's been an exciting few days.
One of the things that I didn't expect about starting a new business was how incredibly BUSY we would become -- silly me.
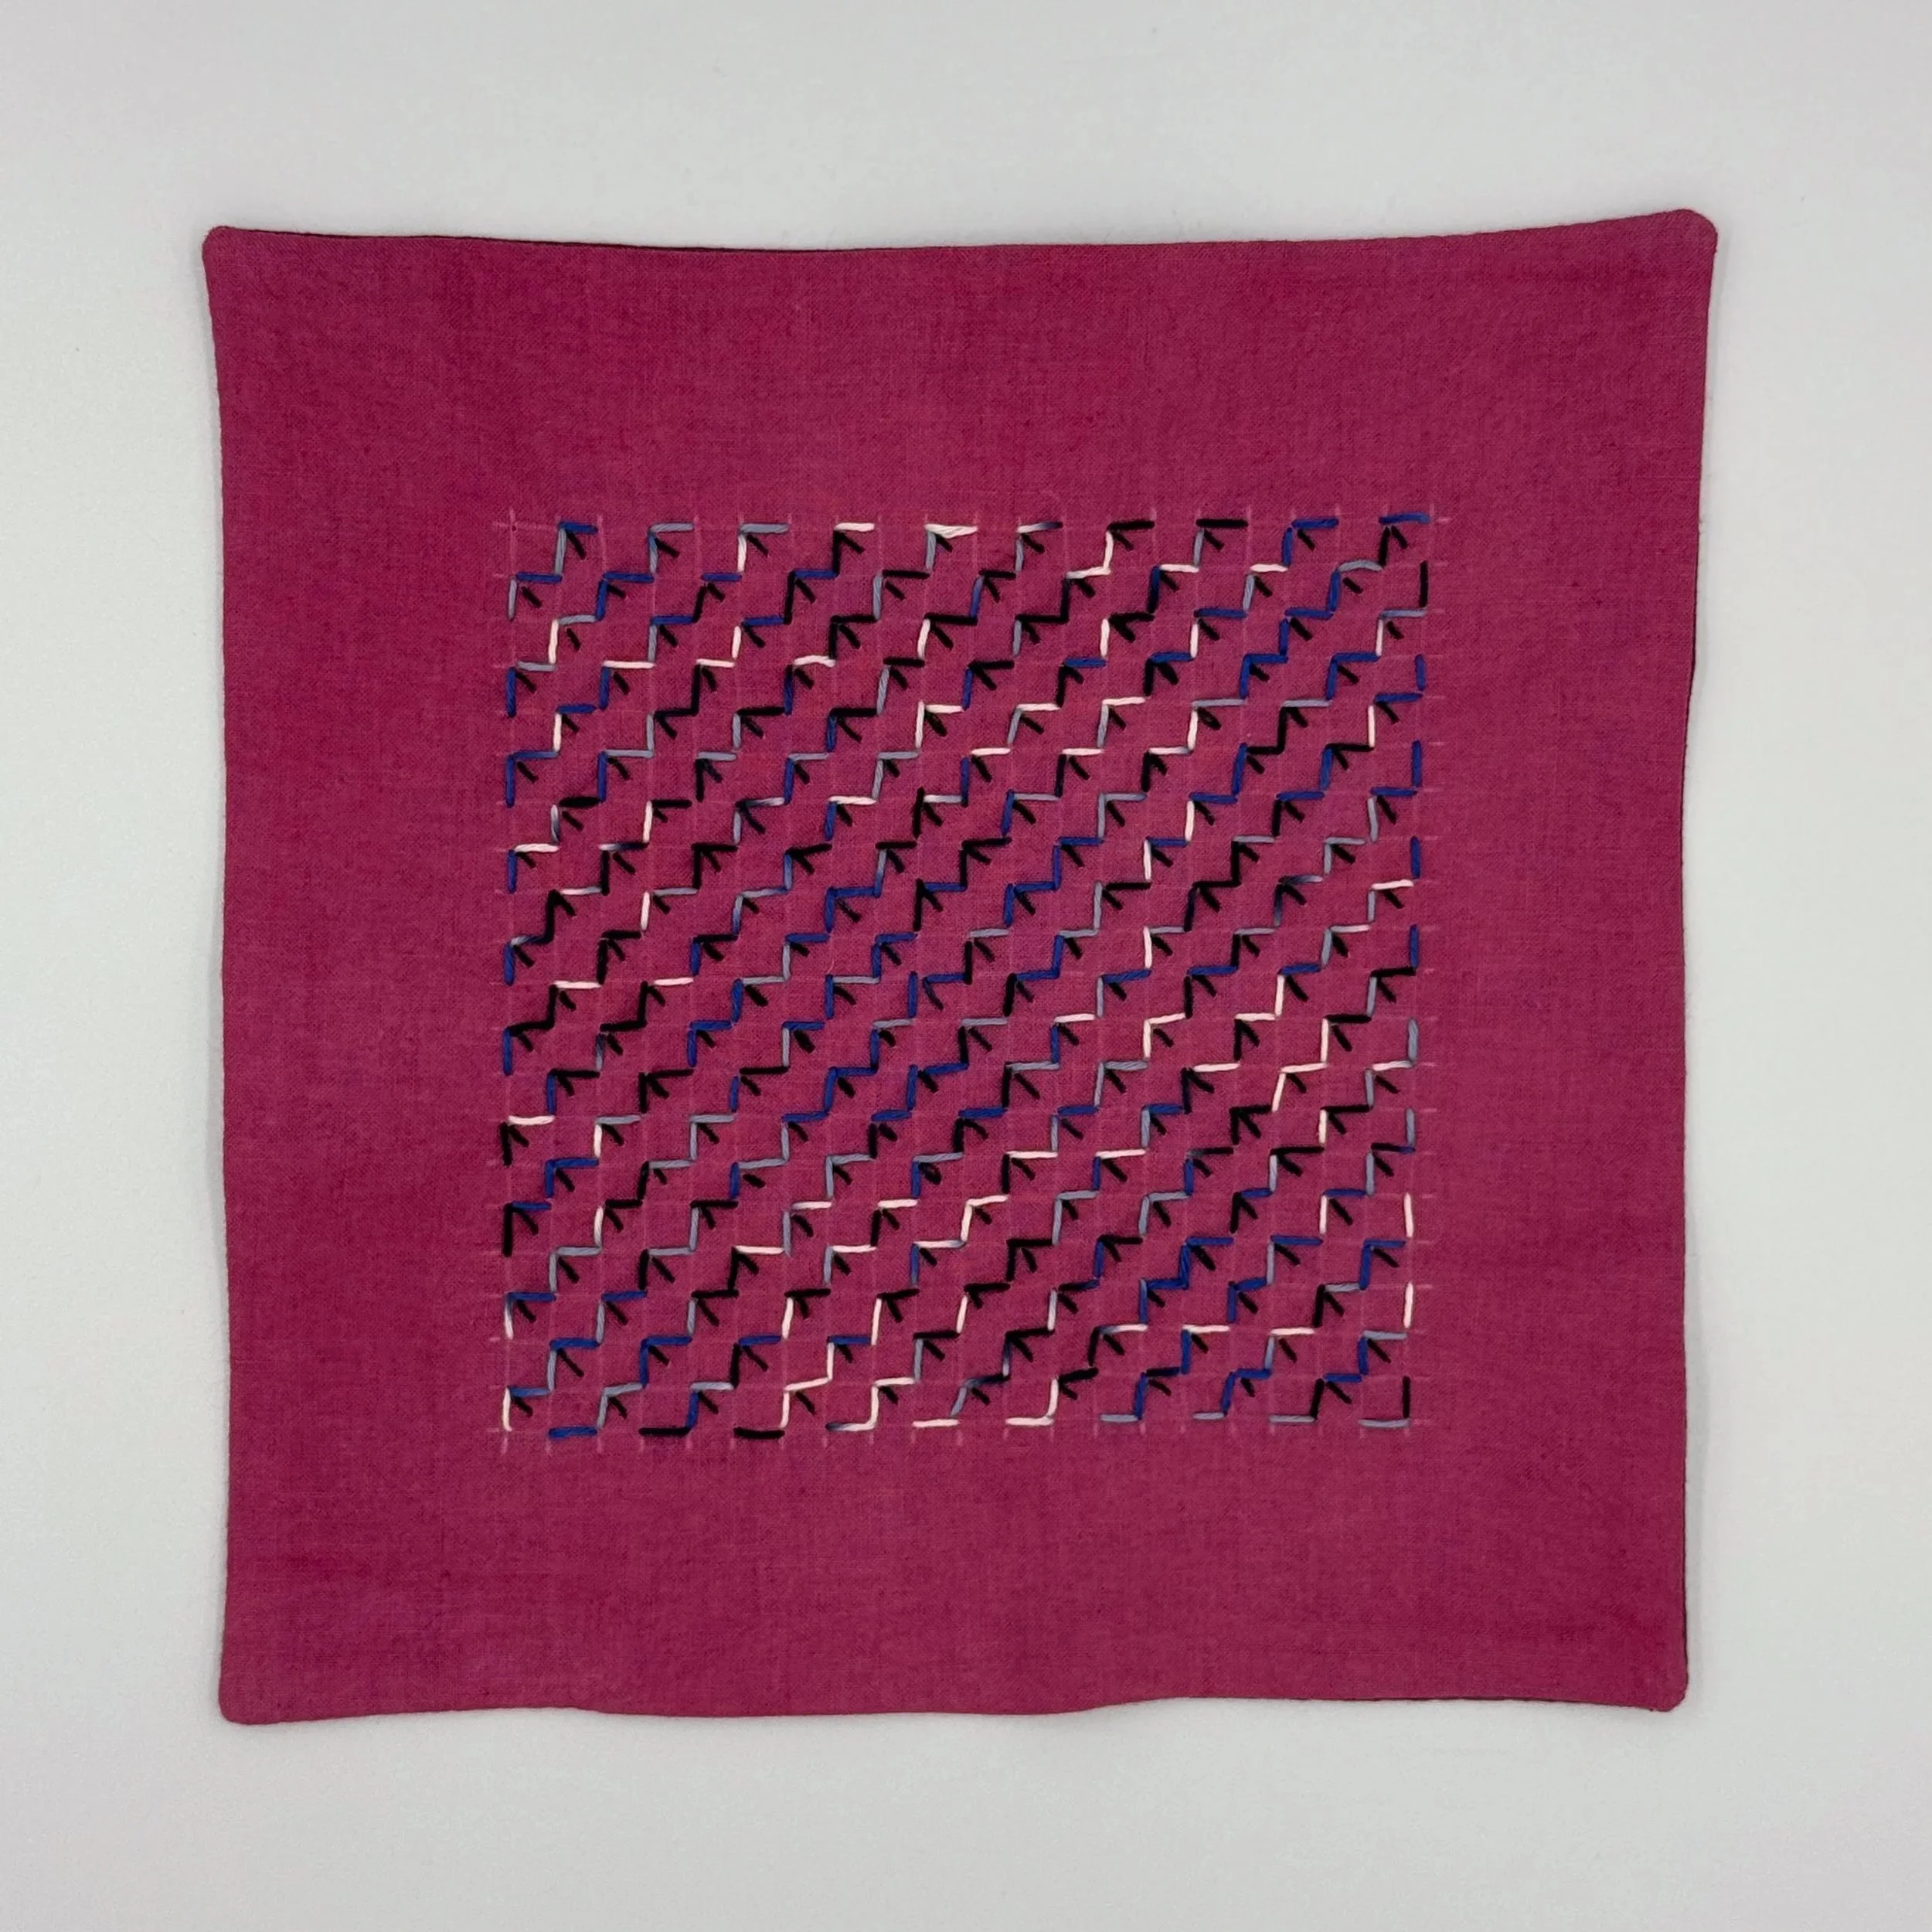
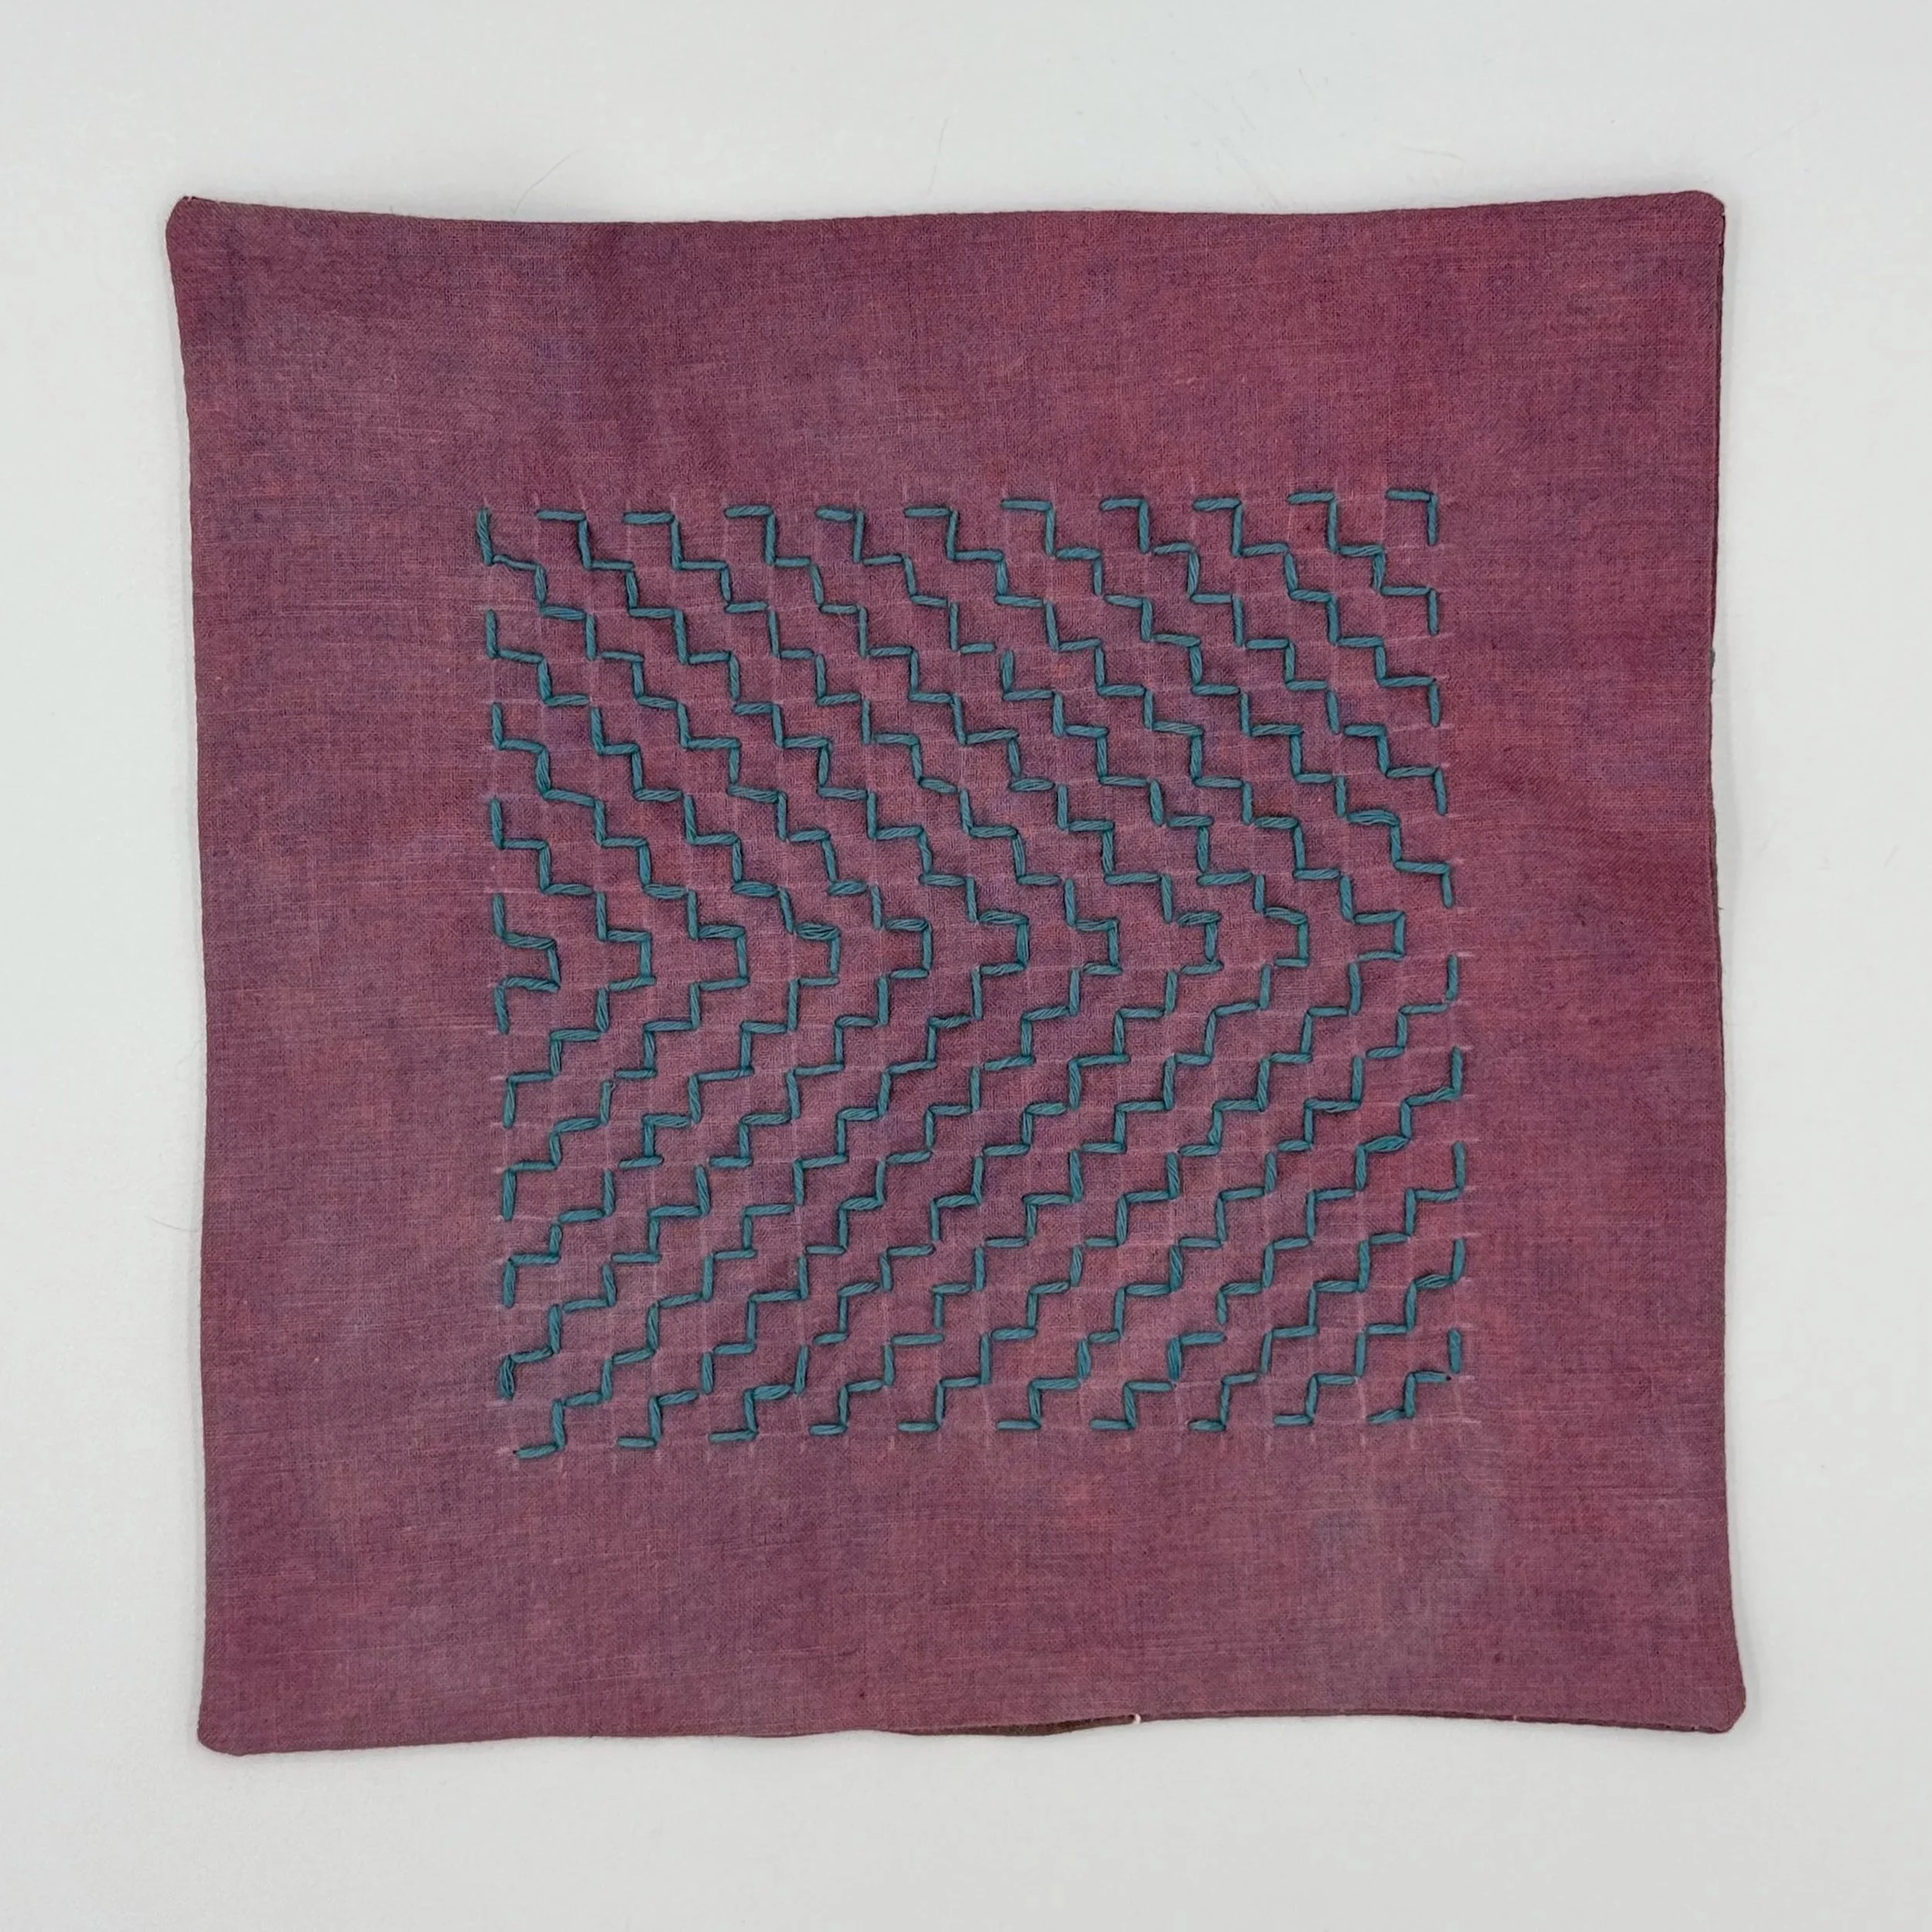
Gift from Liz Chase, 2017. Quilted pillow made from hand-dyed fabric.
When you add that to how busy June usually is... It was nice to relax and celebrate my birthday on the 23rd with my mom and Grey. We had some beautiful meals, I got some amazing (and thoughtful) presents, and we celebrated my turning another year older.
Another annual tradition, even more important than my birthday, is the Juanita More! Pride Party. It's an incredible daytime party (with proceeds going to charity) where fashion is a MUST. So, with that in mind, I made a dress! A caftan, specifically.
Handmade Caftan, 2017. Gaultier cotton/silk & hand-applied beaded appliqué from India.
My lovely mother helped me whip this up out of 3 yards of a Jean Paul Gaultier cotton/silk blend, and I couldn't be happier with how it turned out. Not only did I learn a lot in the process, but it was FUN to wear!
So yeah... Starting a new business turns out to be a lot of work, but I'm lucky and grateful that I have a community of amazing people to help keep life fun and lift me up.
Now that June is wrapping up, I am looking forward to getting back into the pottery studio and making some ART!
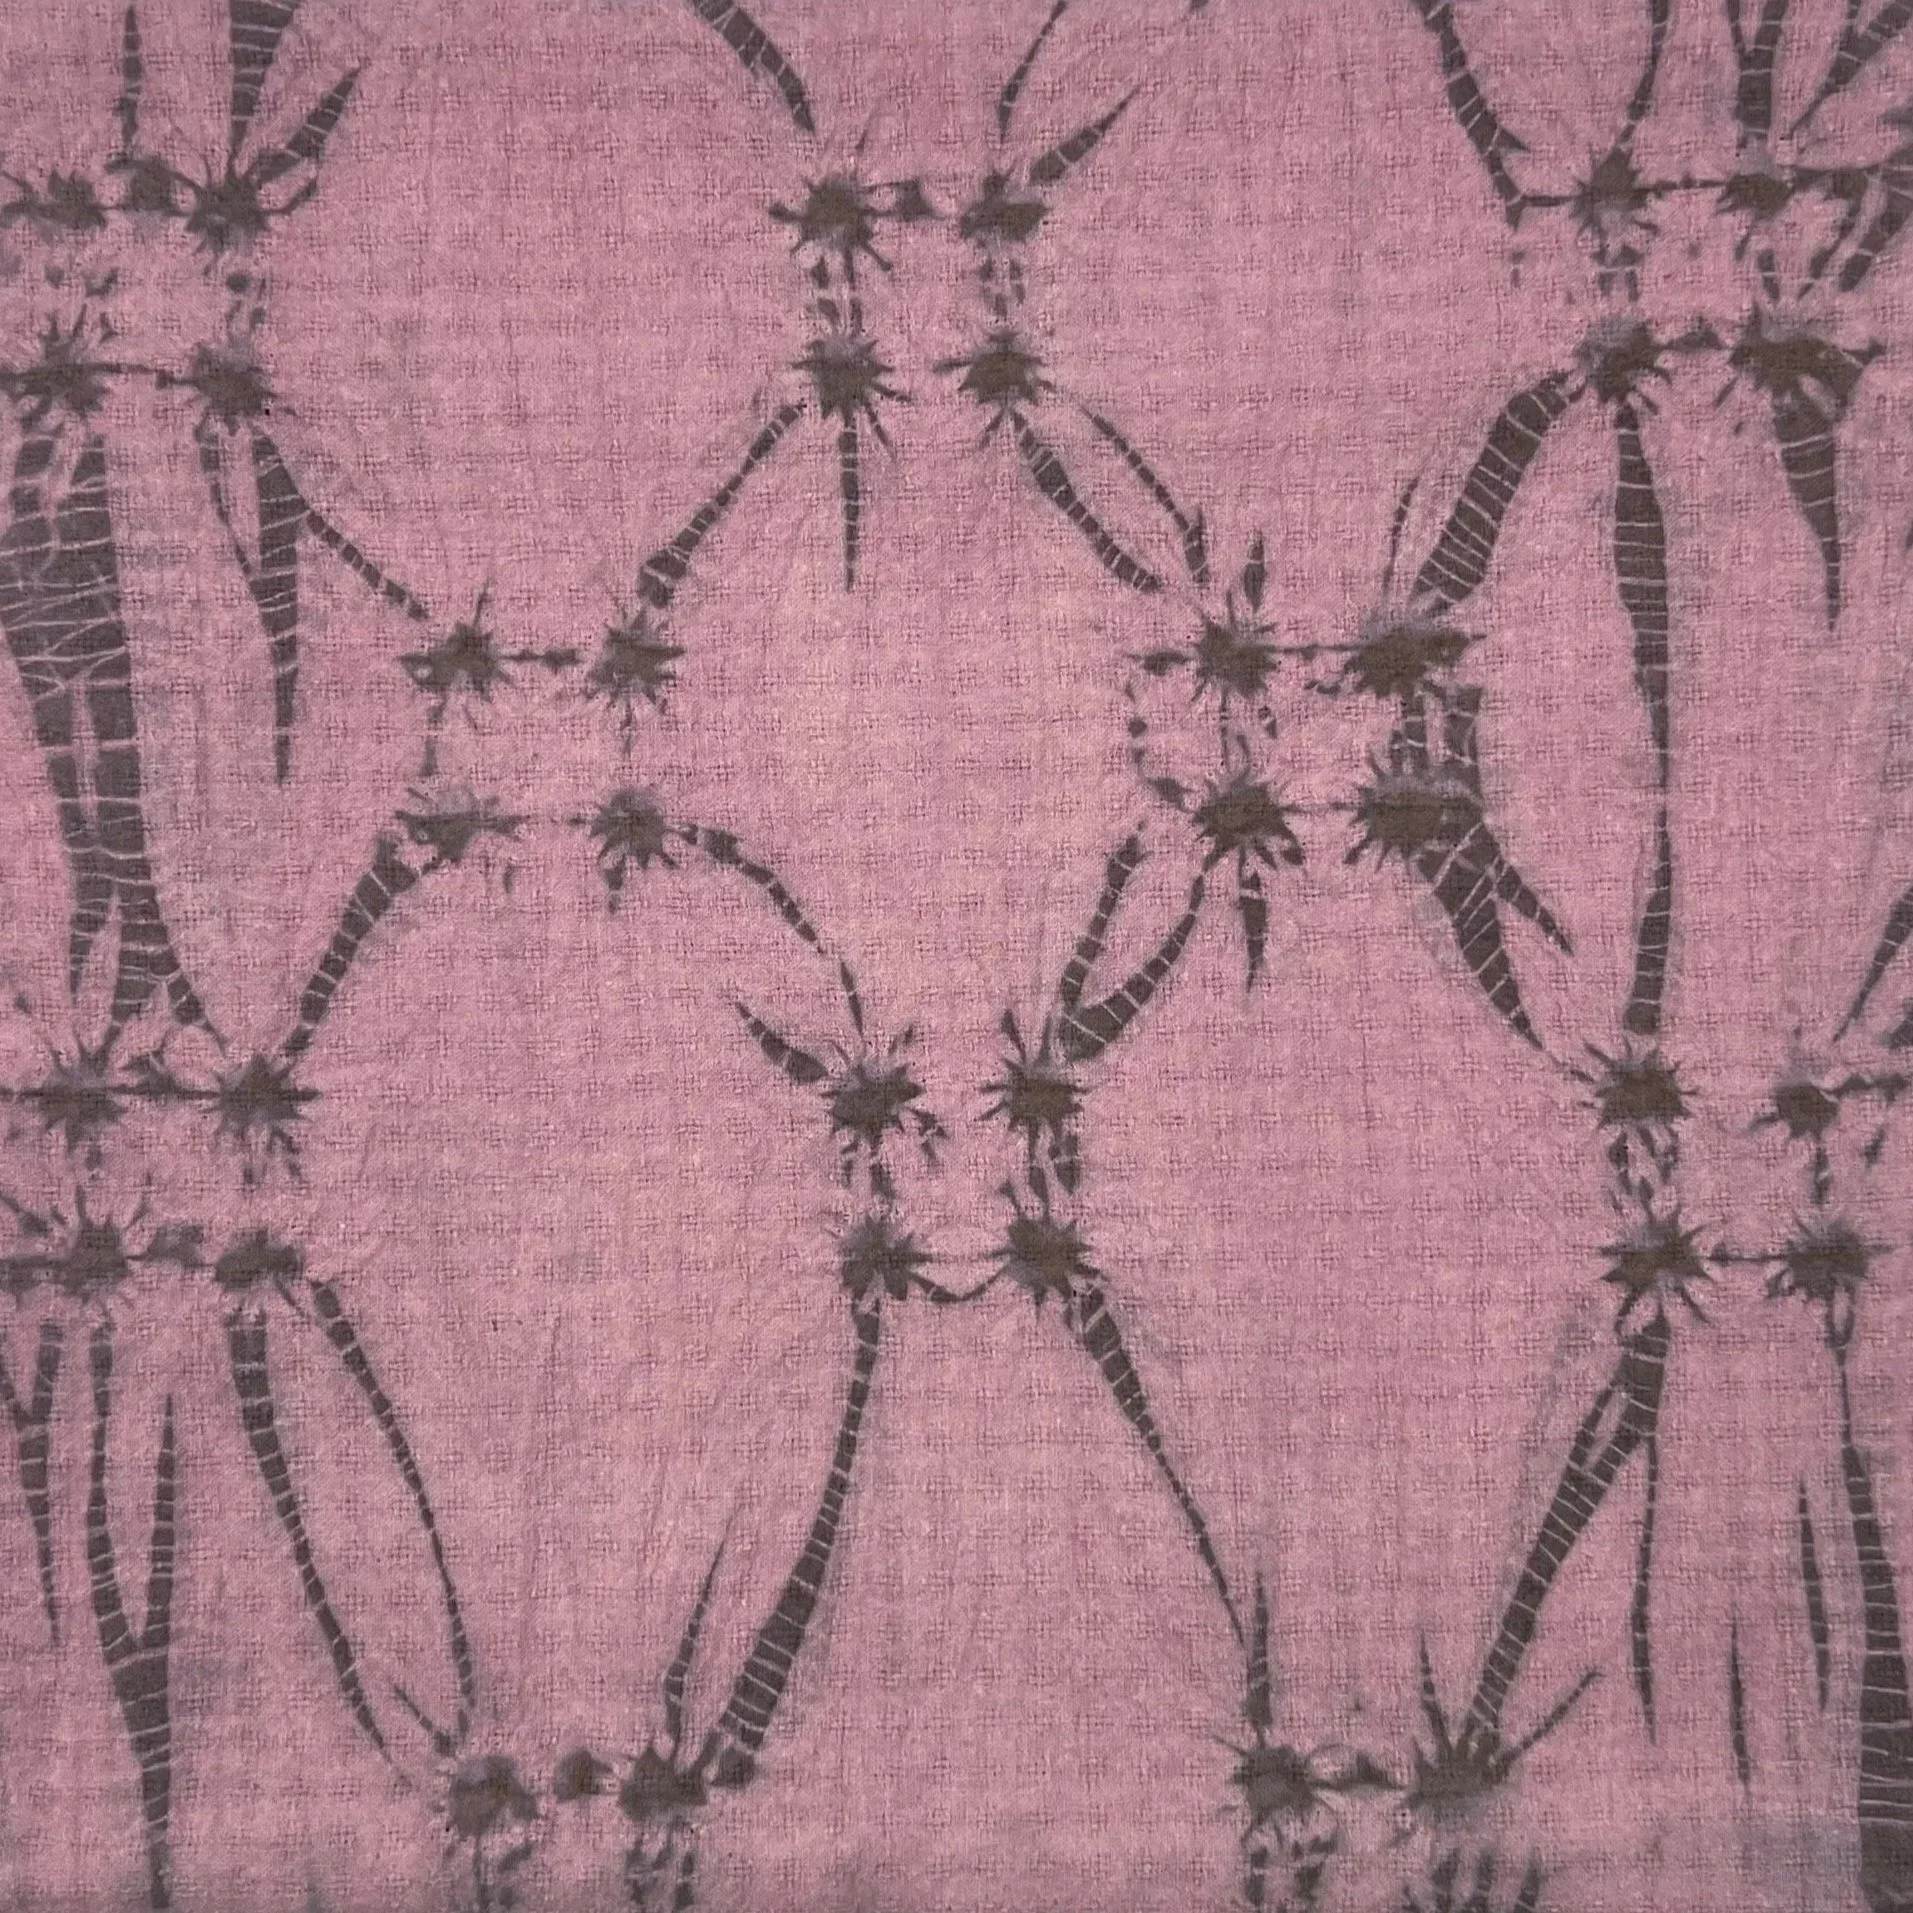
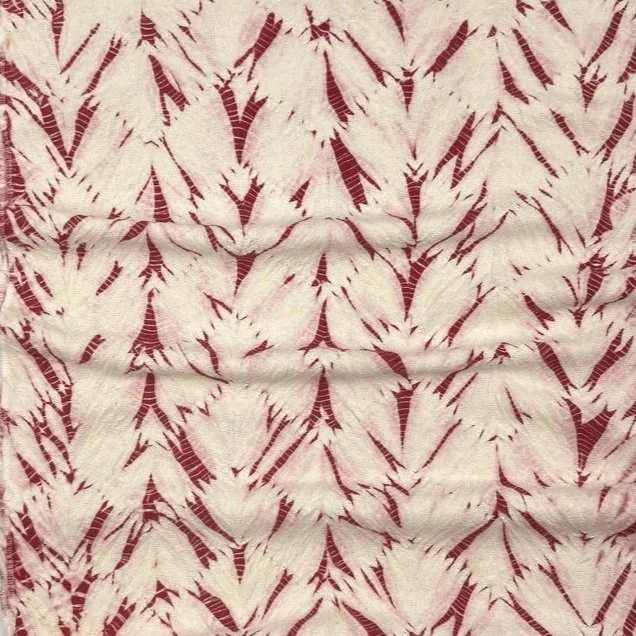
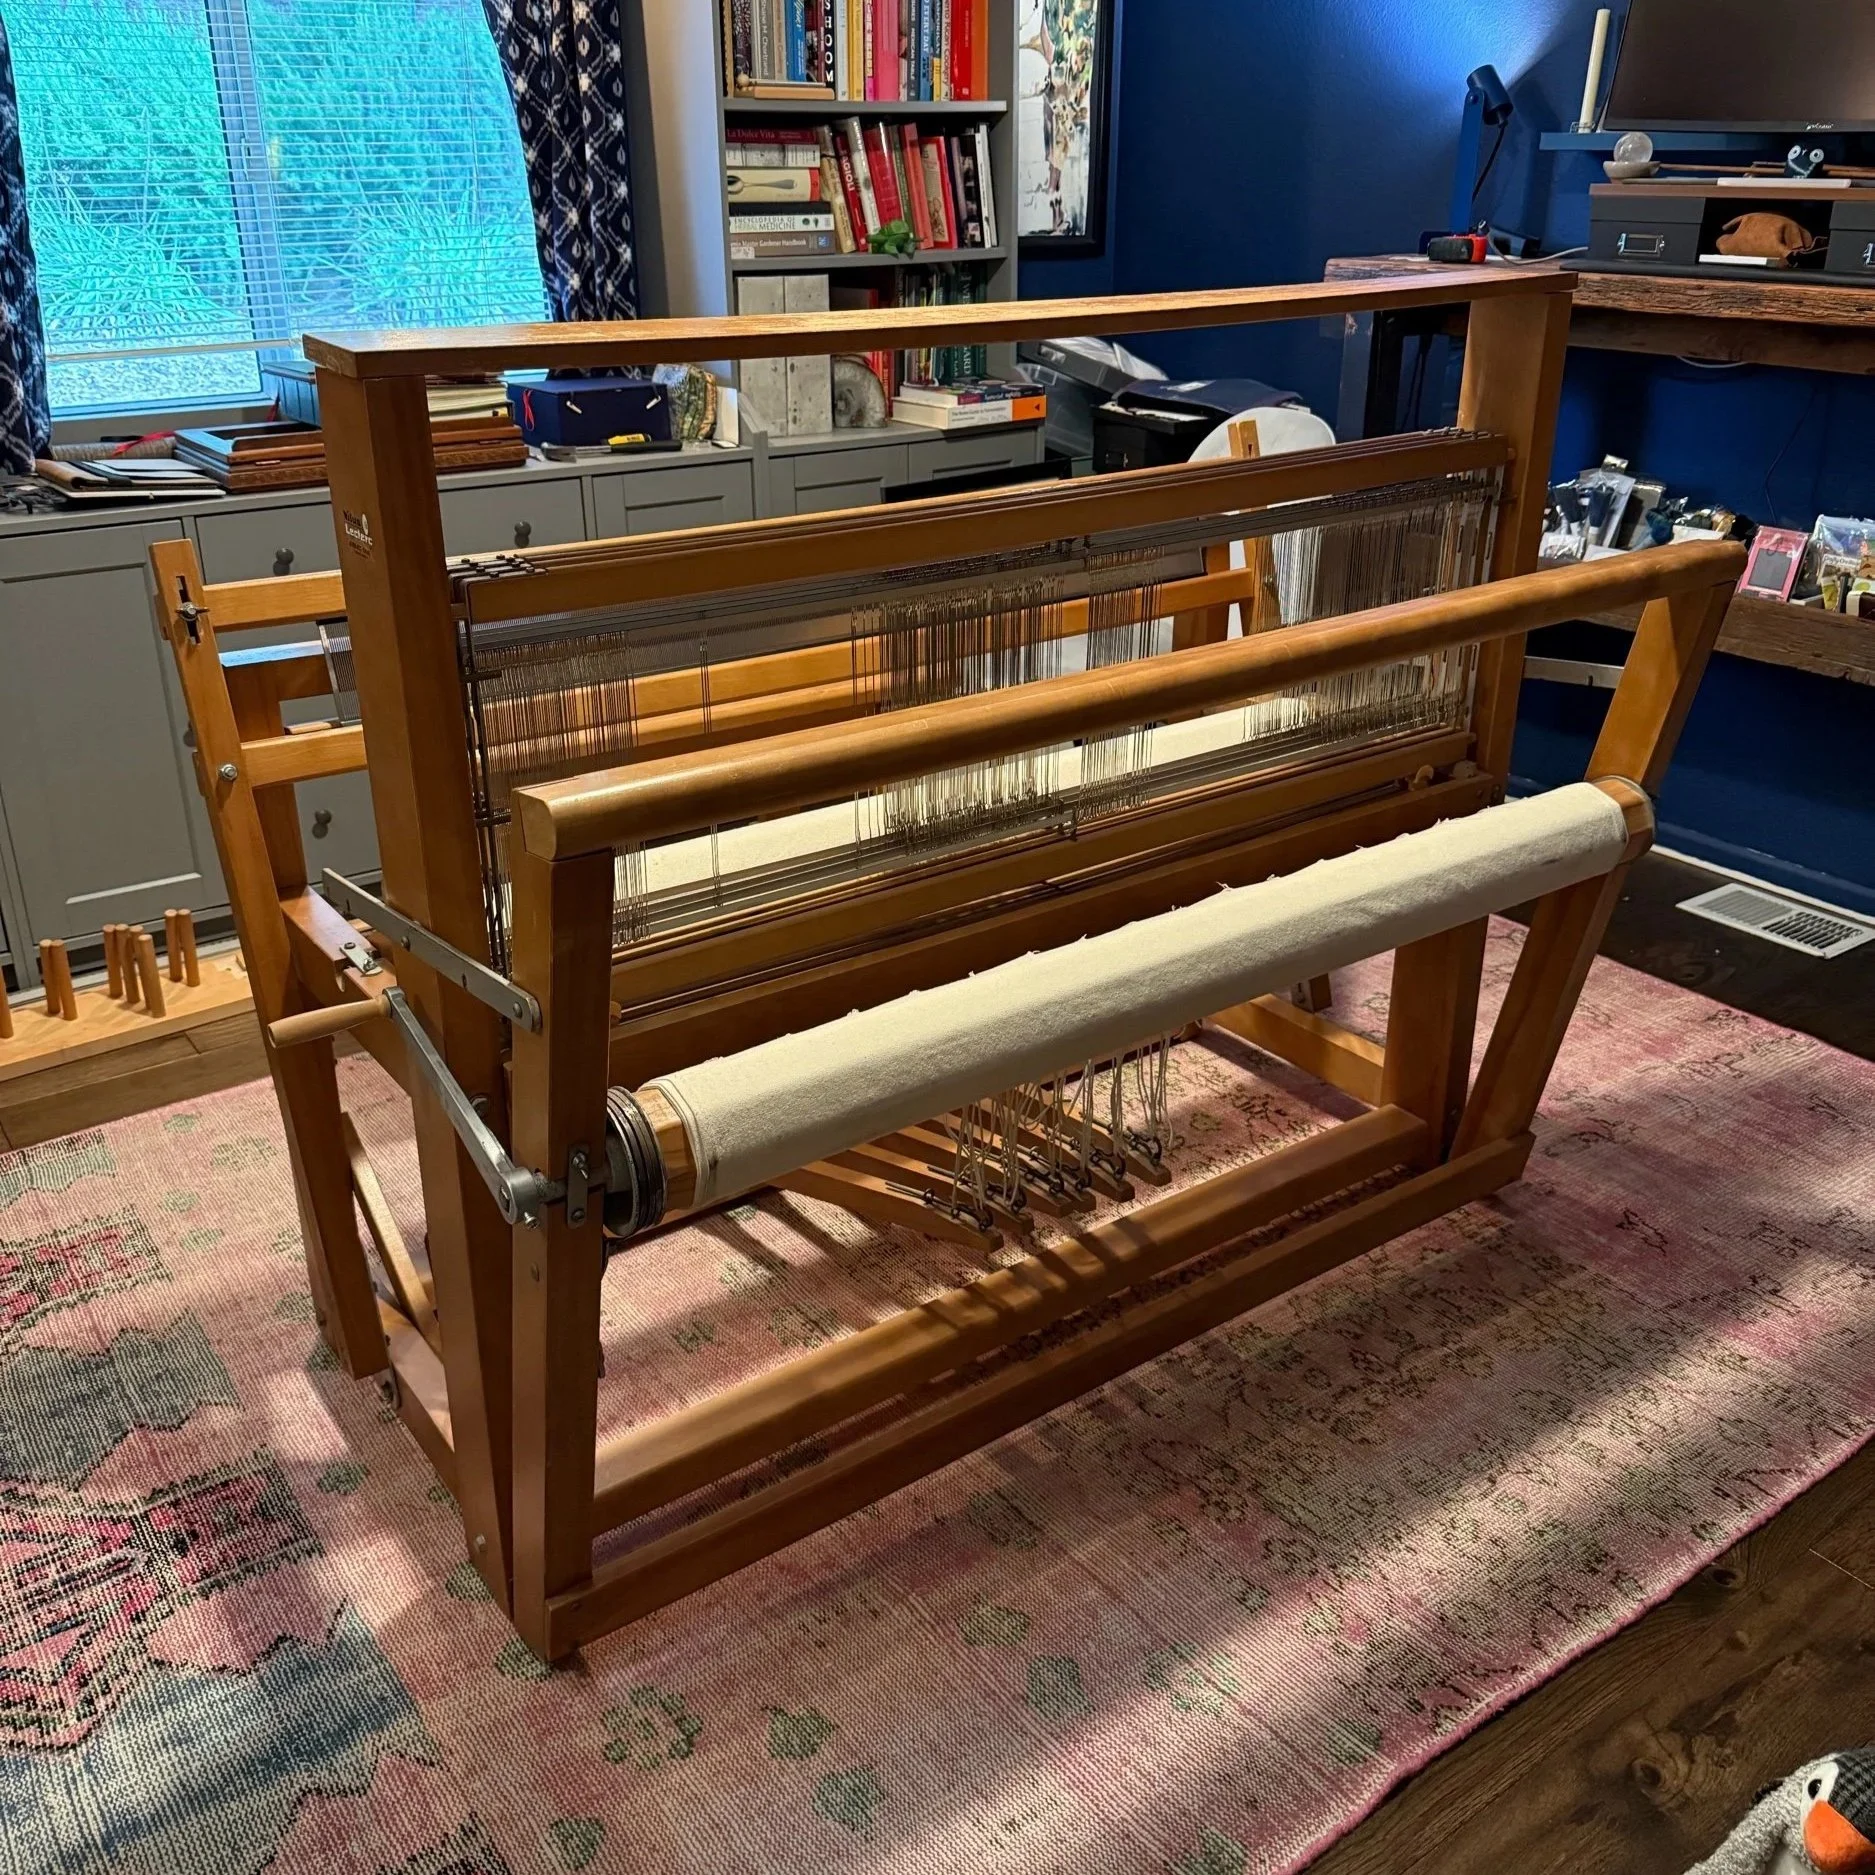
Dye Journal
Explorations in Natural Dyeing, Indigo, Shibori, Bojagi, and all things textile related.
Featured posts: